Thinking about upgrading your MacBook Pro's SSD? The first, most critical question is simple: when was it made? For models released before 2016, the answer is a resounding yes. But for anything from 2016 onwards, it's a hard no—the storage is soldered right onto the logic board.
This single detail dictates your entire upgrade path.
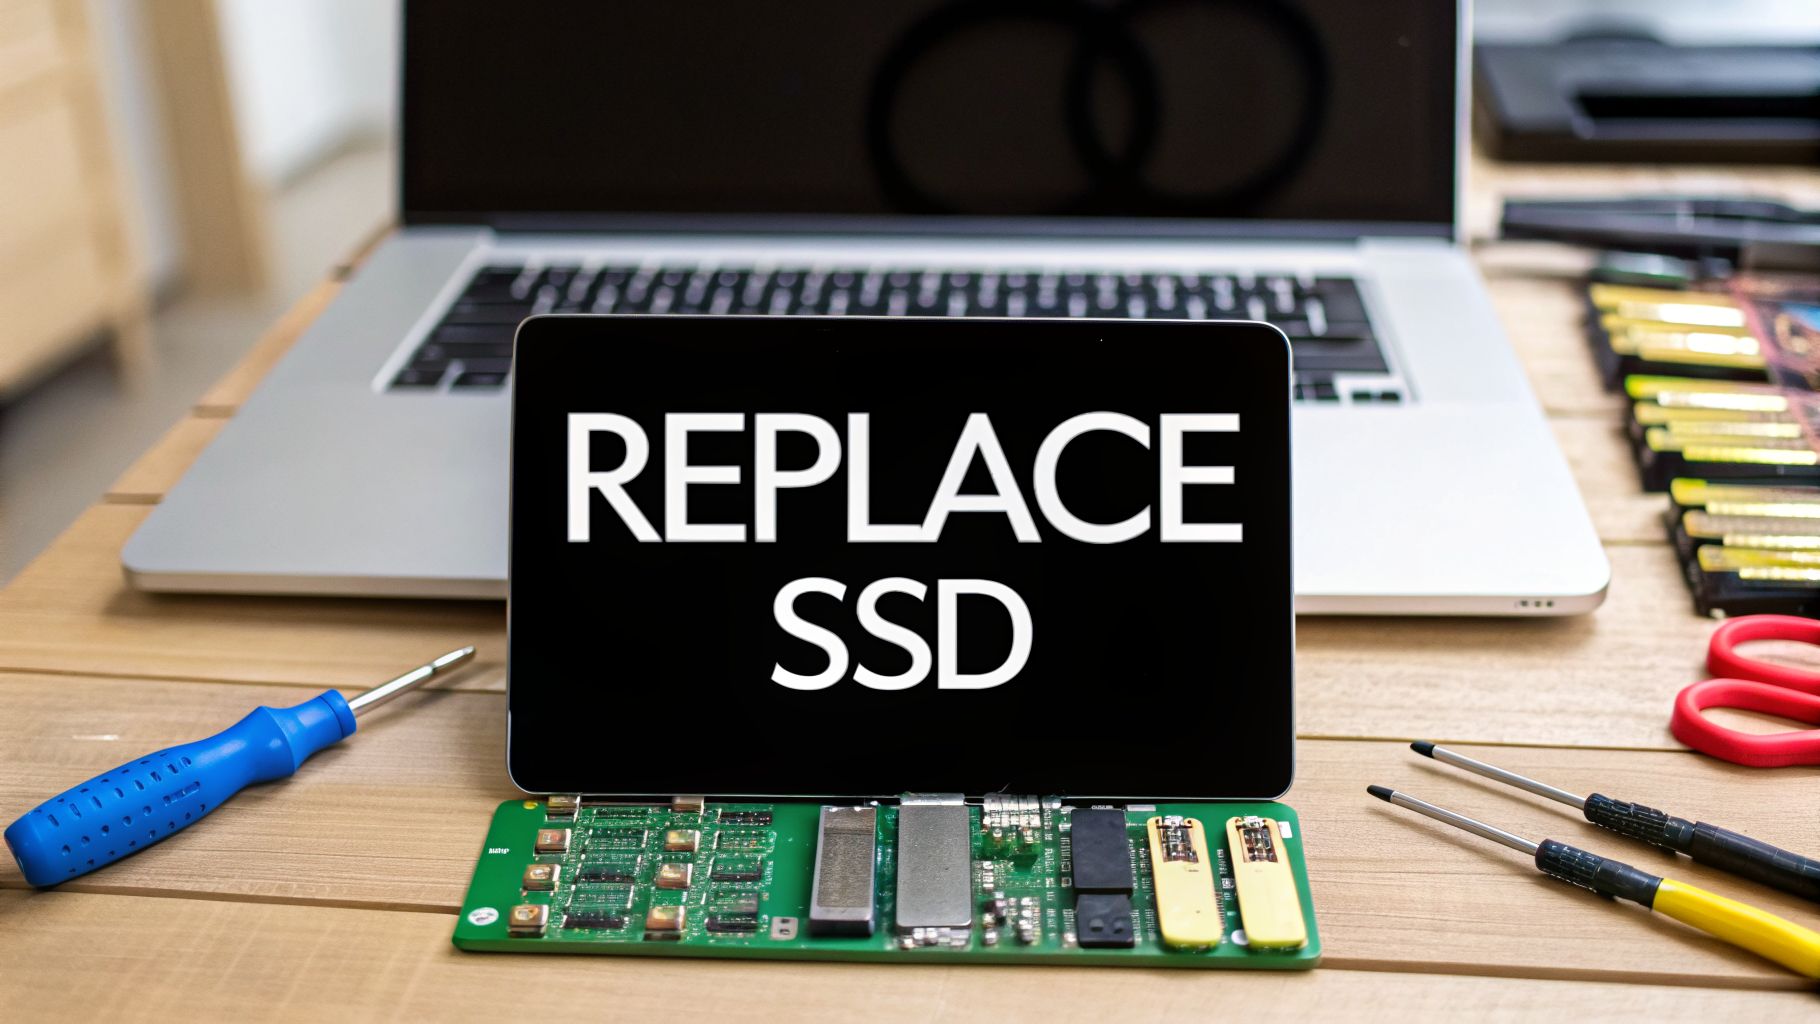
Can You Actually Replace Your MacBook Pro SSD?
Whether you can pop open your MacBook Pro and swap out the SSD comes down entirely to its model year. Apple's design approach changed dramatically, creating a clear split between older, more modular laptops and their newer, integrated counterparts. Figuring out which side of that line your machine is on will save you a world of time and frustration.
If you're rocking a MacBook Pro from 2012 to 2015, you're in luck. These models were built with socketed SSDs. That just means the storage drive is a separate card you can unplug and replace, making it a fantastic and relatively simple DIY project for a major storage boost.
The Great Divide: The 2016 Shift
The 2016 introduction of the Touch Bar was the beginning of the end for user-upgradable storage. From that point on, Apple started soldering the SSD directly to the logic board. This design choice carried through to nearly all subsequent models, including the popular 13-inch and 14-inch versions, making an internal SSD replacement impossible without specialized equipment.
The consequences are pretty stark. If the SSD fails on a modern MacBook, you can't just swap it out. The fix often requires replacing the entire logic board, which is an incredibly expensive repair. And if you run out of space? You're stuck.
The real pain point for many isn't just running out of storage, but the hard realization that the capacity you picked at purchase is permanent. It makes that initial configuration choice more important than ever.
This is why storage capacity has become such a hot-button issue. This design shift, affecting over 15 million units sold through 2025, has made internal upgrades a non-starter. It’s no surprise that in major markets, 40% of MacBook Pro owners cite storage limitations as their primary concern within two years. You can learn more about the evolution of MacBook Pro storage and how it impacts your options today.
This quick reference table breaks down which MacBook Pro models have replaceable SSDs and which have soldered storage.
MacBook Pro SSD Upgrade Compatibility Chart 2012-2026
| MacBook Pro Model Year | SSD Type | Is It Upgradable? | Recommended Action |
|---|---|---|---|
| Early 2012 – Mid 2015 | Socketed | Yes | DIY or professional replacement. |
| Late 2016 – 2017 | Soldered | No | External SSD or cloud storage. |
| 2018 – 2020 | Soldered | No | External SSD or cloud storage. |
| 2021 – 2023 (M1/M2/M3) | Soldered | No | External SSD or cloud storage. |
| 2024 – 2026 (Projected) | Soldered | No | External SSD or cloud storage. |
As the chart shows, if you bought your machine in 2016 or later, an internal upgrade is not an option.
This flowchart gives you a simple visual guide.

If your MacBook Pro is a 2016 or newer model, your best path forward involves external solutions.
Your Path Forward Based On Your Model
So, where do you go from here? It's straightforward.
- Have a Pre-2016 model? Fantastic! You can physically replace the SSD. This guide will walk you through everything you need—the right tools, the best replacement drives, and the full step-by-step process.
- Have a 2016 or newer model? Don't sweat it, you've got great options, too. High-speed external SSDs connecting via Thunderbolt 3, 4, or 5 can hit speeds up to 7000MB/s. For most tasks, that's fast enough to match, or even beat, the internal drive's performance. We'll dive into these powerful external solutions later.
Your Pre-Upgrade Checklist For A Smooth Swap

So, you've confirmed your MacBook Pro has a removable SSD. That’s great news. But before you grab a screwdriver, let's walk through a few critical preparations. Rushing this process is the fastest way to turn an easy upgrade into a costly mistake.
The absolute first step is a full backup. I don't mean just copying your Documents folder—you need a complete, bootable clone of your system. This is your only safety net.
Your best options are Apple’s own Time Machine or a dedicated cloning app. Time Machine is straightforward and built-in. For more control, applications like Carbon Copy Cloner or SuperDuper! create a perfect, bit-for-bit duplicate of your drive. This clone is a lifesaver, as you can boot directly from it if the new SSD installation gives you trouble.
Crucial Tip: A backup you haven't tested is just a prayer. After you create it, verify it works. Try booting from the cloned external drive or browse your Time Machine backup to make sure your files are all there and accessible.
Assembling Your Toolkit
Working on a MacBook Pro requires specific tools. Don't even think about using a "close enough" screwdriver from a generic kit—you will strip the tiny, delicate screws, and a simple job will become a huge headache.
Here’s the essential gear you'll need:
- P5 Pentalobe Screwdriver: This is non-negotiable for opening the bottom case on most MacBook Pros.
- T5 Torx Screwdriver: You'll need this for the single screw securing the SSD to the logic board.
- Non-Conductive Spudger: A plastic pry tool is key for safely disconnecting the battery and other ribbon cables without causing a short.
- Anti-Static Wrist Strap: Static electricity is a silent killer of electronics. One tiny spark from your fingers can permanently fry the logic board. This simple strap grounds you and protects your Mac.
Once your tools are ready, it's time to pick the most important component: the new SSD itself.
Choosing The Right Replacement SSD
Macs are notoriously picky about their internal hardware. For the upgradable MacBook Pro models (mostly 2013-2015), you can't just install a standard M.2 NVMe SSD off the shelf. Apple used a proprietary connector that’s physically different from the industry standard.
You have two main paths to take here:
- Direct-Fit SSDs: Companies like OWC (Other World Computing) make SSDs specifically designed for these MacBooks. They have the correct connector and firmware, offering a true plug-and-play solution. They cost a bit more, but they eliminate any compatibility guesswork.
- Standard NVMe SSD + Adapter: The more budget-friendly option is to buy a standard M.2 NVMe SSD from a reputable brand like Samsung, Crucial, or Western Digital and use it with a special adapter. A Sintech adapter is the go-to choice for converting the standard M.2 pinout to Apple's proprietary one. This combination can deliver excellent performance for less money.
Always double-check that the drive and adapter you choose are compatible with your exact MacBook Pro model year. If your current drive is already failing, you might be dealing with more than just a storage issue. It’s wise to understand how to properly recover data from a hard disk failure before you begin.
Finally, before you touch a single component inside your Mac, you must disconnect the battery from the logic board. This is the golden rule. It prevents any residual power from causing catastrophic damage while you work. Don't skip this step.
A Practical Guide to the Physical SSD Replacement

Alright, your data is backed up and your tools are ready. Now comes the hands-on part: swapping out the physical drive. This is where your prep work really shines. We'll cover the hardware swap first, then move on to the software side of things to get your Mac running again.
Before you touch a single screw, set up in a clean, well-lit space. An anti-static mat is best practice, but at the very least, get your anti-static wrist strap on. Connect it to a metal part of the MacBook's chassis before you unplug the battery.
Opening the Case and Disconnecting Power
Start by flipping your MacBook Pro over. Lay it on a soft cloth to avoid any scratches. You'll need your P5 Pentalobe screwdriver to remove the screws on the bottom case. I recommend a small tray to keep them organized—some models have screws of different lengths, and you don't want to mix them up.
With the screws out, you can gently lift off the bottom case. It's usually secured by a few small clips, so start at the edge near the screen hinge and work your way around. Don't ever force it. If it feels stuck, double-check that you got all the screws.
Once inside, the very first thing you must do is disconnect the battery. Look for the battery connector, which is often under a little plastic flap or some tape. Lift the cover, then take your non-conductive spudger and gently pry the connector straight up from its socket. It should pop off without much effort.
Warning: This step is absolutely mandatory. Trying to remove the SSD or anything else while the battery is connected—even with the Mac off—can fry the logic board. It’s a costly mistake.
Swapping the Old SSD for the New One
Next, find the SSD. It’s a small, rectangular stick, usually held down with a single Torx screw near the fans or in the center of the board.
- Grab your T5 Torx screwdriver and remove that single screw.
- The SSD will pop up at an angle. Gently slide it straight out of the socket.
- Place your old drive in an anti-static bag. You might need it for troubleshooting later.
If you're using a standard NVMe drive with an adapter like the popular Sintech model, this is the time to connect it. Make sure the SSD is seated firmly in the adapter.
Now, take your new SSD (with its adapter, if you're using one) and slide it into the empty socket at that same slight angle. It should go in smoothly. Press it down flat and put the T5 Torx screw back in to secure it. Just make it snug; there's no need to overtighten.
With the new drive installed, it's time to reverse the process. Reconnect the battery connector by pressing it straight down until you feel a click. Then, carefully align the bottom case and put all the Pentalobe screws back in.
Formatting the New Drive and Installing macOS
Your MacBook Pro now has a brand new, empty SSD inside. The next step is to get it ready for macOS. Plug in the power adapter, then press the power button while holding down Command (⌘) + R. This will boot you into macOS Recovery.
From the macOS Utilities window, open Disk Utility.
- Inside Disk Utility, go to the menu bar and click View > Show All Devices. This is a crucial step.
- On the sidebar, select the top-level drive. It will probably be named after the manufacturer, like "SAMSUNG SSD 970 EVO Plus."
- Click the Erase button.
- In the dialog box, set the following:
- Name: "Macintosh HD" is the standard.
- Format: APFS
- Scheme: GUID Partition Map
- Click Erase and let it run.
Once it's formatted, quit Disk Utility. You'll be back at the main Recovery menu. From there, select Reinstall macOS and follow the prompts to install a fresh operating system onto your new drive. This can take a while, so just let it do its thing.
Don't panic if you run into problems like a flashing folder with a question mark. For guidance, check out our article on how to troubleshoot the blinking question mark folder.
After macOS is installed, the Setup Assistant will guide you through the final steps. This is where you'll plug in your Time Machine backup. Choose the option to Transfer information from a Mac, Time Machine backup, or startup disk. The system will handle migrating all your apps, files, and settings. Once it reboots, your Mac will be just as you left it—but with a lot more storage.
Navigating Your Options With A Soldered SSD

So you've discovered your MacBook Pro's SSD is soldered to the logic board. It can feel like you've hit a dead end, but that’s not the case. You can't perform an internal upgrade, that's true. But it just means we need to shift our strategy to external solutions and professional services. Your Mac is far from done.
The most straightforward and effective approach is to use a high-speed external SSD. This isn't the clunky, slow workaround it used to be; thanks to modern port technology, it's a genuinely powerful and viable long-term solution.
With Thunderbolt 3, 4, and even Thunderbolt 5, external drives can hit data transfer speeds that often match or even beat older internal SSDs. You can comfortably run your entire operating system, edit 4K video, or manage massive project files directly from an external drive without a noticeable performance hit.
Choosing Your External SSD Solution
When you start looking, you’ll find two main paths for external storage. The right one for you really depends on your specific needs and budget.
- All-in-One Portable SSDs: These are your plug-and-play drives like the Samsung T7 Shield or SanDisk Extreme Portable SSD. They’re built for convenience—durable, compact, and ready to go out of the box. For expanding storage or moving large files, they offer a great mix of speed and simplicity.
- Custom NVMe Enclosures: This is a more hands-on approach. You buy a Thunderbolt enclosure and install a standard M.2 NVMe SSD inside it. This setup usually gives you the absolute best performance and allows you to upgrade the internal NVMe drive later on.
Pairing a top-tier drive like a Samsung 990 Pro with a high-speed enclosure is the go-to for professionals who need sustained, peak performance for demanding tasks like running virtual machines or heavy video editing.
The secret here isn't just raw speed—it's about matching the solution to your workflow. A video editor needs that powerful NVMe enclosure, but a student will be perfectly fine with a portable T7 for their documents and photos.
When the Internal SSD Is Failing
What if the problem isn’t just about space, but a failing internal drive? If your Mac won't boot or is giving you disk errors, the priority shifts from expansion to data recovery. At this point, you'll need to call in a professional.
Specialized data recovery services have the tools to retrieve data from failed, soldered SSDs. Their methods can involve complex procedures, including physically removing the NAND flash chips from the logic board to rescue your files.
- Costs: Be prepared for a significant expense. These services typically range from $500 to over $2,000, depending on the severity of the drive failure.
- Success Rates: Success is never guaranteed. The outcome depends heavily on the type of damage and whether the encryption controller on the T2 or Apple Silicon chip is intact.
Because of the high cost, this option is usually reserved for recovering irreplaceable, business-critical data.
It’s worth noting that Apple has started to acknowledge that storage needs are ballooning. In a significant March 2026 shift, the company’s M5 MacBook Pro lineup eliminated the 512GB base model, making 1TB the new minimum. It also cut upgrade costs, with the 2TB option dropping by 33% from $600 to $400. This is a telling move, especially for users in fields like crypto who need substantial local storage for tools like a Wallet Recovery AI and its associated blockchain data. You can read more about Apple's M5 storage strategy and what it means for future buyers.
Other Avenues Worth Considering
If professional recovery is out of your budget and an external drive doesn't solve the core problem (like a completely dead Mac), you have a couple of final options.
A logic board replacement is the equivalent of a brain transplant for your Mac. Because the SSD, CPU, and RAM are all integrated, a new board will fix the failed drive. However, it's an extremely expensive repair, often approaching the cost of a new machine.
Finally, consider the Apple Trade-In program. If your Mac still works but is just feeling slow or cramped, trading it in can provide a solid credit toward a new model. For an aging device facing a costly repair, this is often the most financially sound path forward.
SSD Performance Myths And Real-World Longevity
If you're weighing an SSD upgrade against just using an external drive, you've probably run into some persistent myths about SSD performance and lifespan. A lot of this talk is outdated and causes unnecessary worry. Let's clear the air so you can make a decision based on how these drives actually perform in the real world.
The biggest misconception is that SSDs have a short, three-to-five-year lifespan before they just die. This idea comes from the early days of flash storage and simply isn't true for modern drives.
Instead of a ticking clock, an SSD's life is measured in Terabytes Written (TBW). This is an official rating for how much data can be written to the drive's memory cells before they start to degrade. For most of us, hitting that TBW limit is practically impossible.
Debunking The 3-Year Failure Myth
The reality is modern SSDs, including the ones Apple puts in MacBook Pros, are built to last a decade or more under normal and even heavy workloads. The fear that your drive will suddenly fail a few years in is what stops many people from investing in a machine they hope to keep for a long time, but the evidence just doesn't support it.
Take Apple's own 1TB SSDs, which are often rated for 600 TBW. To even get close to that, you'd have to write a staggering 150GB of new data every single day for ten years straight. You can find countless real-world examples in forums proving their endurance—I’ve seen users report an OCZ SSD in a 2011 Mac mini still running perfectly nine years later. SSDs are far more likely to be replaced because you ran out of space, not because they wore out. You can see more real-world insights on SSD longevity and what it means for owning a Mac long-term.
Modern SSDs don’t just fail overnight after a few years. Their longevity, measured in Terabytes Written (TBW), translates to well over a decade of heavy use for the average person, making them a reliable long-term component.
The Real Performance Bottleneck
Another common myth is that an external SSD is always a sluggish compromise. With today's Thunderbolt connections, that's just not the case anymore. A quality external Thunderbolt SSD delivers speeds so close to the internal drive that you won't notice a difference in most professional workflows.
What does kill performance isn't the drive itself, but something far more common: System Data bloat. This is that mysterious category in your macOS storage that quietly balloons with old caches, logs, and other temporary files.
- Initial macOS Footprint: A clean install is usually around 28GB.
- System Data Creep: Over a few years, it's not uncommon to see this climb past 75GB or even 100GB.
This bloat becomes a massive problem on smaller 128GB or 256GB drives, leaving you with virtually no free space. When your drive is full, macOS grinds to a halt as it struggles to manage memory and temporary files. In those cases, the bottleneck isn't the drive's speed—it's the simple lack of room to breathe. This is one of the main reasons you'd want to replace your MacBook Pro's SSD, even if it's working perfectly.
Common Questions About MacBook Pro SSD Upgrades
Even after walking through the steps, a few big questions always seem to pop up. That’s perfectly fine—when you're talking about opening up Apple hardware, you want to be absolutely sure.
Let's get right to it. Here are the most common things people ask before diving into a MacBook Pro SSD upgrade.
Will Replacing My MacBook Pro SSD Void My Warranty?
This is a big one, and the answer really comes down to your Mac's age and warranty status. For older models with user-upgradable drives, your original one-year warranty is almost certainly long gone. In that case, you’re free to open it up without worry.
However, things get a bit more complicated if you have an active AppleCare+ plan. The act of upgrading the SSD doesn't automatically kill your coverage, but it does introduce a major risk: any damage you cause during the DIY repair will not be covered.
If you accidentally scratch the logic board with a screwdriver, that repair bill is coming out of your own pocket. Of course, for newer Macs with soldered SSDs, this is a moot point—you can't replace the drive anyway. If it fails under warranty, Apple handles the repair, which usually involves a full logic board replacement.
The bottom line: If your Mac is out of warranty, go for it. If it's still covered by AppleCare+, you need to accept the financial risk if your DIY project goes sideways.
What Is The T2 Chip And How Does It Affect An SSD Swap?
Ah, the T2 Security Chip. You'll find this in most 2018-2020 MacBook Pro models, where it acts as a dedicated security processor for your hardware. One of its key jobs is to cryptographically pair the internal SSD to the logic board, which makes a simple replacement incredibly difficult.
If you try to swap the SSD on a Mac with a T2 chip (and very few upgradable models from this era exist), the machine simply won't recognize the new drive. To get it working, you'd have to perform a DFU restore using a second Mac running Apple Configurator 2.
This is a tricky, often frustrating process that's best left to seasoned pros. The good news? If your MacBook Pro is from 2017 or earlier, you don't have a T2 chip and won't have to deal with this headache.
Should I Buy An External SSD Or Just Get A New MacBook?
This is the classic "upgrade or replace" dilemma. The right move really depends on what your biggest performance bottleneck is.
- If storage is your only problem: A high-speed external SSD is a fantastic and affordable solution. If your processor and RAM are still fast enough for your work, spending less than $200 on a 2TB Thunderbolt drive can easily give your Mac a few more years of useful life.
- If your entire system is slow: An external drive won't fix a struggling CPU or insufficient RAM. If you find yourself waiting on everything, not just file transfers, it’s probably time to put that money toward a new machine.
Take a hard look at your daily workflow and budget. If your Mac is still a beast held back only by a tiny internal drive, an external SSD is the smart play. If not, it might be time to start browsing for a new MacBook Pro—just make sure you get enough storage this time around.
If you've lost access to a cryptocurrency wallet due to a forgotten password or hardware failure, a simple storage upgrade won't help. For secure and confidential crypto recovery, Wallet Recovery AI offers specialized services to help you regain control of your assets. Learn how our AI-driven process can recover your wallet by visiting https://walletrecovery.ai.
Leave a Reply