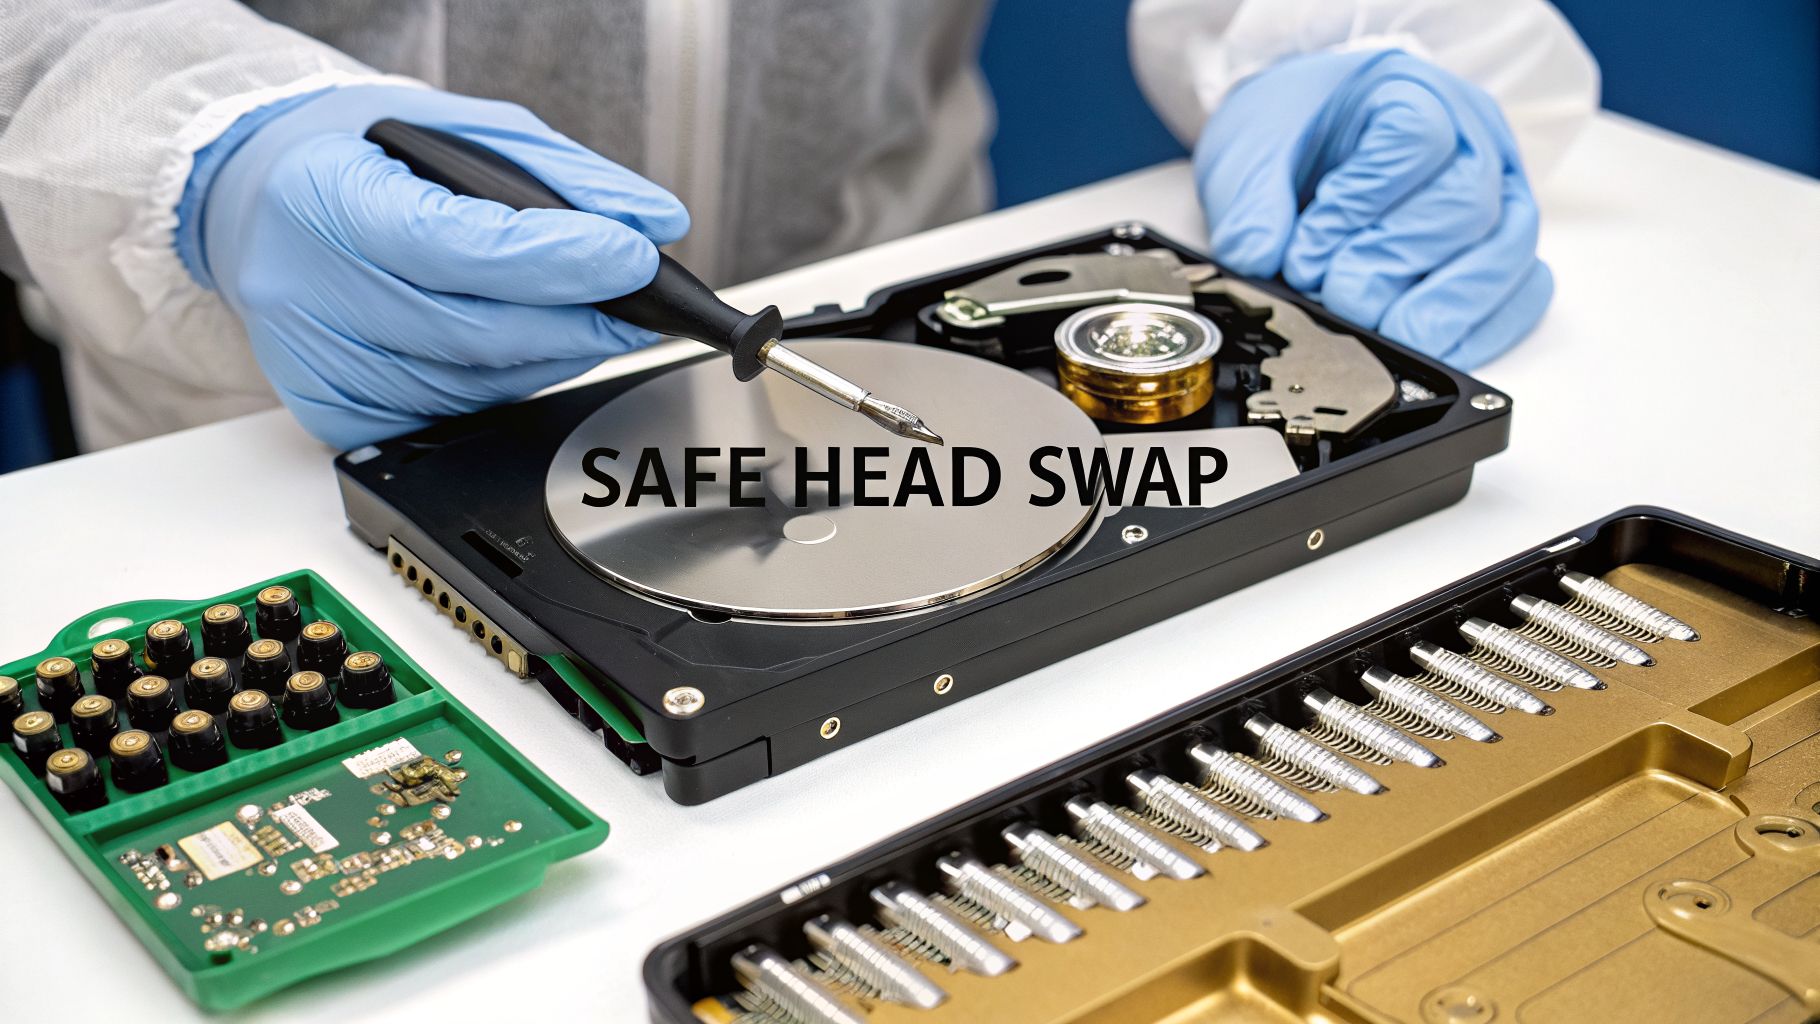
Thinking about replacing a hard drive's read/write head assembly yourself? Let me be blunt: this is one of the most intricate and dangerous procedures in all of data recovery. We're talking about a level of complexity that rivals microsurgery. One tiny slip-up, a single speck of dust, and your data could be gone forever.
This is not a DIY project.
The High-Stakes Reality of Head Replacement
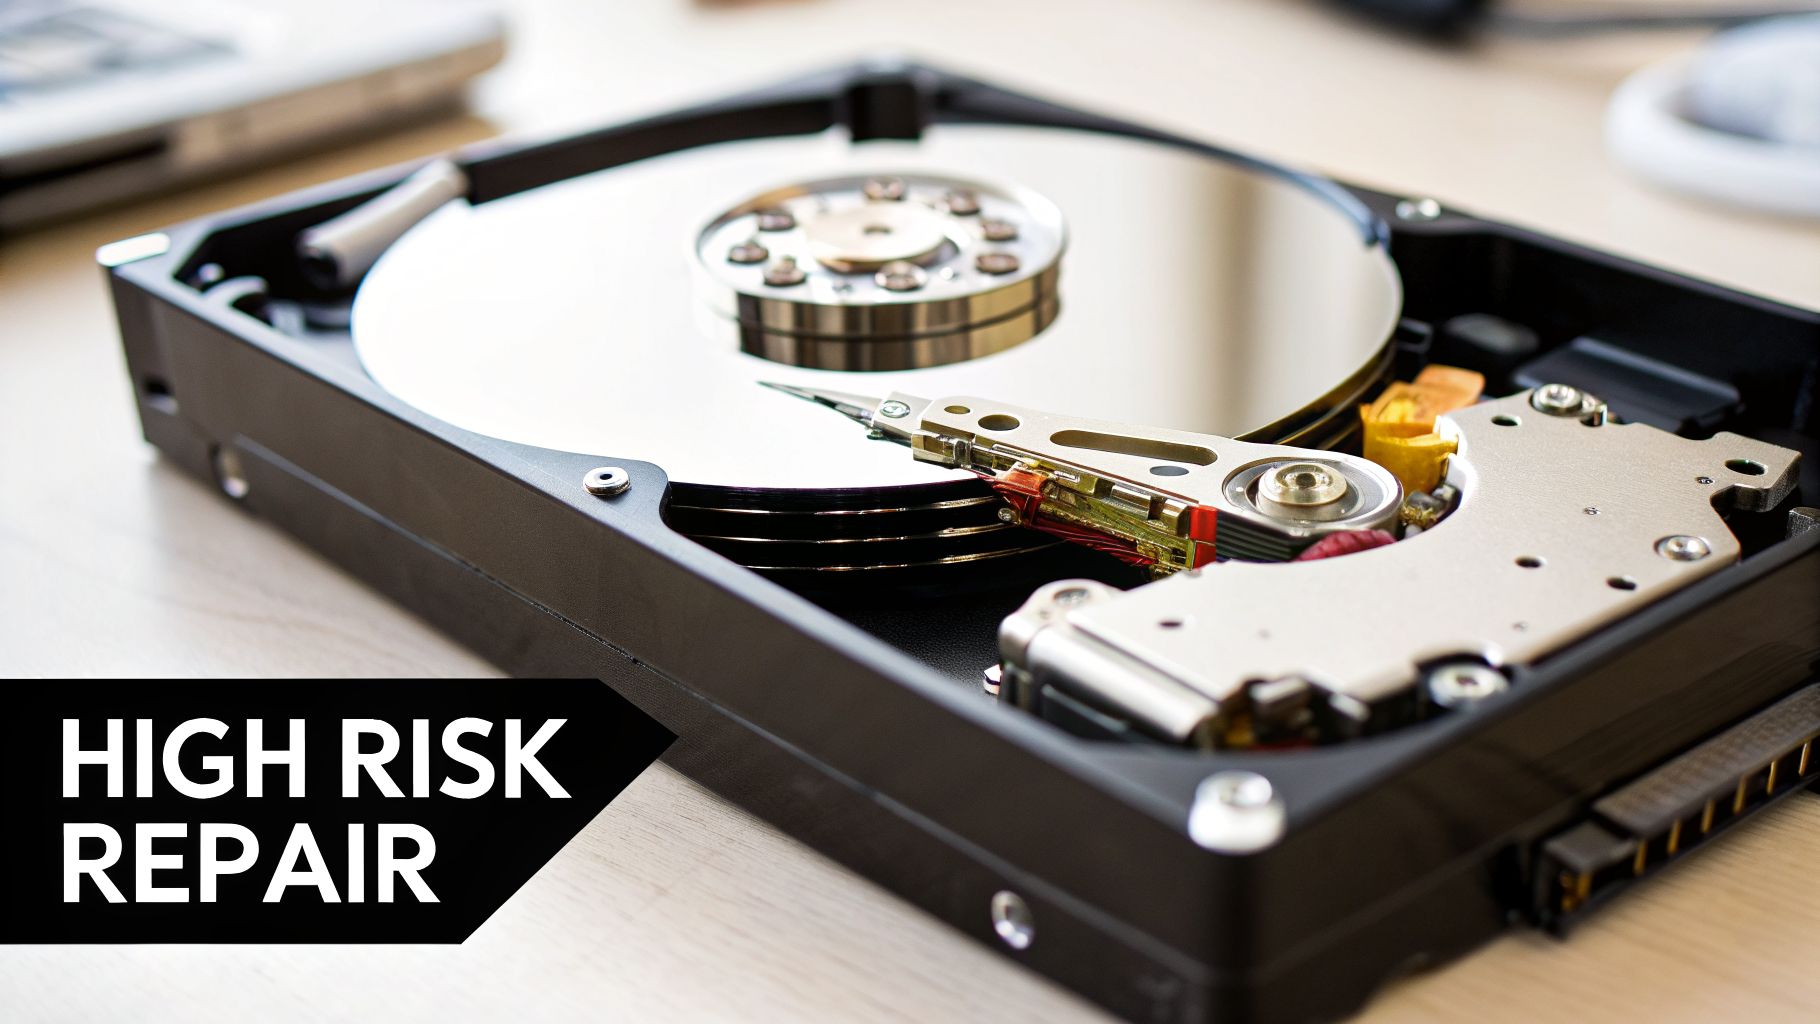
Let's get one thing straight. Swapping a hard drive's head stack isn't like upgrading your RAM. It's more like trying to defuse a bomb in the dark. This kind of work is absolutely not meant for a home office or a garage workbench. Attempting it improperly doesn't just risk data loss—it practically guarantees it.
Inside that metal case is a marvel of engineering. The read/write heads don't actually touch the platters; they float on a cushion of air just a few nanometers thick while the platters spin at thousands of RPM. That gap is smaller than a single particle of smoke.
Why DIY Attempts Almost Always Fail
So why is trying this at home a recipe for disaster? It all comes down to the environment. Your house, no matter how clean you think it is, is filled with thousands of airborne particles—dust, skin cells, pet dander. They're invisible, and they are your data's worst enemy.
The moment you crack open that drive's case outside of a certified cleanroom, those particles begin to settle on the platters. When you power it on, the heads will immediately collide with that debris. The result is a catastrophic head crash, which literally grinds away the magnetic layer holding your files.
This isn't just a hypothetical scenario. It's the grim reality we see all the time with failed amateur repairs. The damage is instant and irreversible.
Key Takeaway: Opening a hard drive in a normal room is the fastest way to turn a recoverable drive into a paperweight. Contamination is the number one killer of data in DIY attempts.
The Financial and Data Cost of Failure
The stakes are incredibly high, especially when that drive holds irreplaceable family photos, mission-critical business records, or financial assets. With the explosion of digital currencies, we're seeing more and more people store their wallet access files on local hard drives, adding another layer of risk.
The consequences go far beyond losing personal memories. In the first quarter of 2025 alone, a staggering $1.77 billion in crypto assets were either stolen or lost due to issues like forgotten passwords and, you guessed it, busted hard drives. This has fueled a surge in demand for specialized recovery, with Bitcoin accounting for 70% of cases. One firm, Crypto Recovers, managed to unlock $2.5 million in 2025, which included a single whale wallet worth $1.5 million. You can explore more about these crypto recovery trends and their costs.
This really drives the point home. If your drive holds high-value assets, a failed head replacement doesn't just mean losing data—it can mean losing a fortune. Professional recovery isn't a cost; it's an investment to protect that value.
Why a Cleanroom and Specialized Tools Are Non-Negotiable
Before you even think about grabbing a screwdriver, we need to be crystal clear on one thing: when you’re attempting to replace a hard drive head, the environment isn't just a factor. It's everything.
The read/write heads on your drive don't touch the platters; they fly over them on a cushion of air. On a modern drive spinning at 7200 RPM, that gap can be as small as 3 nanometers. To put that in perspective, a single speck of dust from the air is like a giant boulder hurtling toward the head.
The moment that head hits a particle, it crashes. This isn’t a maybe—it’s a certainty. That crash gouges the magnetic surface of the platter, permanently destroying your data in an instant.
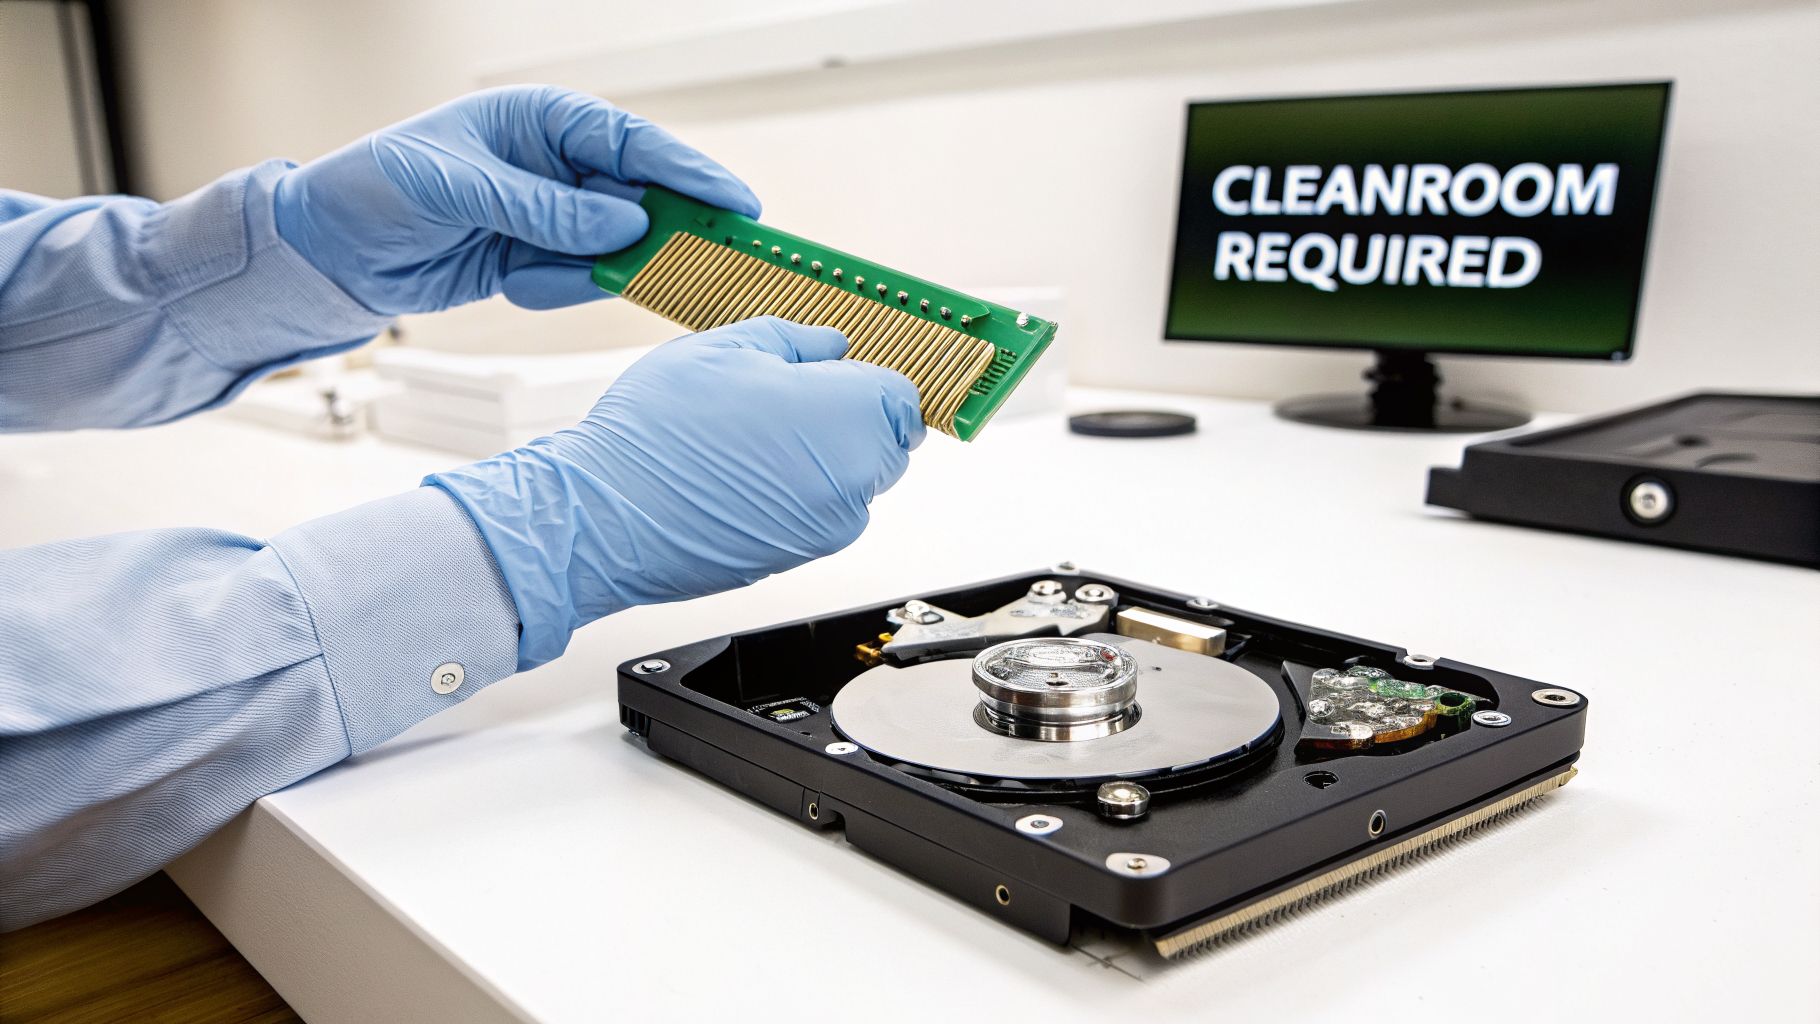
The Cleanroom Imperative
This is precisely why professional data recovery labs operate inside certified cleanrooms. These aren’t just tidy workspaces; they are highly engineered environments built to maintain extreme air purity.
A professional lab typically uses an ISO 5 / Class 100 cleanroom. This standard means there are no more than 100 particles larger than 0.5 microns in any cubic foot of air. For comparison, a single human hair is about 70 microns thick. The particles that kill hard drives are completely invisible.
A cleanroom isn’t about looking professional; it's about physics. It's the only way to prevent microscopic airborne particles from causing a catastrophic head crash and permanently destroying the magnetic platters that hold your data.
Opening a hard drive in a normal room exposes its delicate internals to tens of thousands, if not millions, of these destructive particles. It’s the single biggest reason why DIY attempts almost always end in total data loss. You can get a closer look at the science behind this in our guide to clean room data recovery.
The Arsenal of Specialized Tools
Beyond the environment, having the right tools is just as non-negotiable. Trying to use a generic electronics kit or, worse, household items, is a guaranteed recipe for failure. Every tool in a professional's kit is designed for one specific, high-precision job.
Here are just a few of the essentials:
- Head Combs: These are not just plastic picks. Head combs are precision-molded tools that are specific to the drive’s model, platter count, and even where the heads park. Their only job is to safely lift the heads off the platters and keep them perfectly separated during the transfer.
- Platter Clamps and Spacers: When you remove the head stack assembly, the platters can shift microscopically. Even a nanometer of movement can throw off the alignment and make the data unreadable. Platter clamps are used to lock the entire platter stack in place, ensuring perfect alignment is maintained.
- Calibrated Torque Screwdrivers: The tiny screws holding a hard drive together are tightened to exact specifications at the factory. A calibrated torque screwdriver is the only way to remove them and, more importantly, re-tighten them to the precise torque needed to maintain the drive's internal pressure and alignment.
Using a regular screwdriver to pry up the heads will instantly scratch the platters. Trying to hold the platters still with your fingers introduces oils and uneven pressure that will ruin them. This is absolutely not a job for improvisation.
DIY vs Professional Head Replacement at a Glance
The table below starkly illustrates the differences between a home attempt and a professional service. It really puts the risks into perspective.
| Factor | DIY Attempt | Professional Service |
|---|---|---|
| Environment | Regular room (millions of particles) | ISO 5 / Class 100 Cleanroom |
| Tools | Improvised or generic kits | Model-specific head combs, platter clamps |
| Risk of Failure | Extremely high (near 100%) | Significantly lower |
| Outcome | Permanent data loss is likely | Best possible chance for data extraction |
As you can see, the gap in equipment and environment is huge. Without the right setup, a DIY head swap is less of a recovery attempt and more of a guarantee of permanent data destruction.
Diagnosing a Failed Head Assembly
Before you ever pick up a tool, you have to be 100% certain the hard drive's heads are actually the problem. Getting this wrong is the fastest way to turn a recoverable drive into a paperweight. A weird noise or a drive that won't spin up doesn't automatically mean head failure, and the wrong "fix" can cause permanent data loss.
The first step in any professional diagnosis is simply to listen. The sounds a dying hard drive makes can tell you a lot. Powering on the drive for just a few seconds is a critical, and safe, diagnostic check.
Learning the Sounds of Failure
Over the years, you learn to recognize the signature sounds of different hardware failures. Each component makes a unique noise when it dies. While it takes experience to master, you can listen for a few obvious tells.
Here are the most common sounds you'll encounter and what they mean:
- The "Click of Death": This is the classic sound of a failed head assembly. You'll hear a rhythmic, steady click or tick. This is the sound of the heads failing to read the platter's service area, parking, and trying again in a loop.
- Whirring or Grinding Noises: A high-pitched whir that struggles and dies, or a harsh grinding, points directly to a seized spindle motor. The platters can't spin up to the correct speed, so the heads can't read anything.
- Beeping Sounds: On some drives, particularly from manufacturers like Western Digital, a soft beep is common. This usually means the heads are physically stuck to the platters—a condition called stiction—and the motor can't break them free.
- Complete Silence: If the drive is a brick—no spin, no clicks, nothing—the issue is almost always electronic. The Printed Circuit Board (PCB) is likely dead and isn't sending power to the drive's motor or heads.
The "Click of Death" is the most definitive sign of a head assembly failure. If you hear that rhythmic clicking, power the drive down immediately. Leaving it on risks the failing heads scratching the platters and destroying your data.
Non-Invasive Diagnostic Checks
After the sound test, there are a couple more checks you can do without opening the drive. The next step is to see if the computer's BIOS or UEFI even sees the drive.
Connect the drive, power on your computer, and enter the BIOS setup (this is usually done by pressing DEL, F2, or F12 on boot). If the drive shows up in the list—even with a garbled name or 0 MB capacity—it tells you the PCB has power and some basic function.
If the drive is completely missing from the BIOS, it’s a strong indicator of a dead PCB or a major internal problem preventing the drive from even starting its initialization sequence. A clicking drive might appear for a moment, but a drive with a dead PCB will always be invisible.
Differentiating the Primary Fault
Let's walk through a common scenario. You power on a drive and hear that steady tick… tick… tick… sound. You check the BIOS, and the drive either isn't detected or shows up with a strange name. This combination points directly to a failed head assembly.
Now, imagine a different drive. You plug it in, hear a faint hum, then a brief, struggling whir that stops. The drive never spins up, and it's completely absent in the BIOS. That's a textbook seized motor, not a head problem.
Knowing the difference is everything. A head swap on a drive with a bad motor is a waste of time and will only cause more damage. Likewise, a PCB swap won't fix a drive with clicking heads. Taking a moment to get the diagnosis right is the most important part of the entire process.
What a Professional Head Swap Actually Involves
Let’s pull back the curtain on one of the most delicate operations in data recovery: a hard drive head replacement. This isn't a DIY guide. Instead, it’s a look at how our experts replace a hard drive head to highlight why this job is strictly for the professionals.
The entire process starts long before a single screw is turned. It all begins with a meticulous hunt for a donor drive.
Finding a Perfect Donor Drive
Sourcing a compatible donor drive is far more complex than just matching the model number on the sticker. For a head swap to have any shot at success, the donor has to be an almost exact twin of the patient drive.
A recovery technician will cross-reference several critical identifiers to find a match:
- Model Number: This is just the starting point, like a
WD40EFRX. - Part Number (P/N): A more specific code that narrows down the drive's particular build.
- Firmware Version: The drive's internal software must be identical. A mismatch can stop the drive from even spinning up.
- Country of Origin & Manufacturing Date: Drives built in different factories or at different times often have subtle physical variations that can cause a swap to fail.
- DCM (Drive Configuration Matrix): On Western Digital drives, this code reveals granular details about internal components and factory settings.
Without an almost perfect match, the new heads won't be calibrated for the patient drive’s platters. This can lead to an immediate failure or, even worse, silent data corruption as the drive slowly destroys itself.
The flowchart below shows the initial checks that help us determine if a head replacement is the right path in the first place.

This quick triage helps a technician distinguish between a true head failure, a seized motor, or a dead PCB, ensuring we’re on the right recovery track from the very beginning.
The Cleanroom Surgery
Once a suitable donor is found, the real work begins inside an ISO 5 / Class 100 cleanroom. Every step is precise and requires specialized tools.
The patient drive is first secured on a workbench. We use a calibrated torque screwdriver to carefully remove the lid screws, applying even pressure to avoid warping the case.
With the lid off, the mirror-like platters are exposed. The immediate next step is to lock them down with a platter clamp. This tool fits over the spindle and prevents even the slightest microscopic shift in their alignment, which would render all the data unreadable.
Now for the most critical part of the disassembly.
Swapping the Head Assembly
With the platters secured, the technician chooses a head comb made specifically for that drive’s model and architecture. This isn't just a piece of plastic; it’s a precision tool designed to slide between the heads and platters, safely lifting the read/write heads off their parking ramp or the platter surface.
Expert Insight: A head comb is the only tool that should ever touch or move the heads. Trying to use tweezers or another improvised tool will instantly scratch the platters and cause permanent, unrecoverable data loss.
Once the old heads are parked on the comb, the technician unscrews the entire head stack assembly (HSA). This component is incredibly fragile. The old HSA is set aside, and the same process is repeated on the donor drive to remove its healthy head assembly.
The technician then installs the healthy donor HSA into the patient drive. It's gently guided into place, and the screws are tightened to exact factory specifications using the torque screwdriver. The wrong torque can create alignment issues or stress the delicate parts.
With the new assembly secured, the head comb is slowly withdrawn, letting the new heads settle onto their parking ramp.
The financial stakes of this kind of data loss are huge, much like the chaos we see when people lose access to their digital assets. The scale of crypto losses from inaccessible wallets is staggering, often stemming from hardware failures like a bad hard drive. In fact, TRM Labs' 2026 Crypto Crime Report showed that illicit crypto volumes soared to $158 billion in 2025, a 145% jump from $64.5 billion in 2024. For anyone using a hardware wallet, a failed drive can make their keystores useless, locking away funds forever if not recovered properly. You can read the full report from TRM Labs to see the growing financial risks tied to digital data.
Finally, the lid is put back on, and the screws are secured. The drive is now ready for the final stage: imaging. The goal was never to "fix" the drive for good, but to get it stable just long enough to clone every readable sector onto a healthy new drive.
Knowing When to Call a Professional
In the world of data recovery, the bravest move isn't pushing forward—it's knowing exactly when to stop. You've watched the videos, you feel the pull to try a DIY hard drive head replacement, but there are some very clear lines you just don't cross.
Pushing past these red flags is a surefire way to turn a recoverable drive into a paperweight, losing your data for good.
One of the most urgent warnings is the sound. If you power up that drive and hear anything that sounds like scratching, grinding, or a faint scraping, kill the power. Immediately. That noise is the sound of the drive’s heads literally scraping across the platters, destroying your files with every single rotation.
Heeding the Critical Warning Signs
Beyond the dreaded "click of death" or grinding noises, other symptoms are just as serious. Think of these as definitive stop signs. When you hit one, your chances of a successful DIY fix drop to almost zero, while your risk of total data loss goes through the roof.
You need to halt everything and step away if you run into these issues:
- Audible Scratching or Grinding: This is the absolute worst-case scenario. It means the heads are physically carving up the platter surfaces. Any more power, even for a few seconds, will likely make the data unrecoverable, even for us.
- The Drive Fails to Spin Up After Reassembly: You’ve performed the head swap, put it all back together, and… nothing. If it’s dead silent and won’t spin, something is critically wrong. This could be a fried PCB, misaligned heads that are stuck, or a damaged motor connection. Fiddling with it further will only make things worse.
- Inability to Find a Perfect Donor Drive: We've said it before, but it bears repeating: "close enough" is not good enough. If you can't track down a donor drive with the exact same model, firmware, and other crucial identifiers, the swap is destined to fail from the start.
In data recovery, your ego is the biggest threat to your data. The second you feel you're in over your head or hear that awful scratching sound, the smartest thing you can do is admit defeat and pass the job to an expert.
A Practical Cost-Benefit Analysis
It’s easy to get tunnel vision on the costs. You see a cheap donor drive and a tool kit for a few bucks and compare that to a professional recovery quote. But that’s a flawed way to look at it. You're completely ignoring the value of what you're trying to save and the real probability of success.
Your data is almost always worth more than the recovery fee. Think about it—years of family photos, essential business files, or even crypto assets. Losing access to a Bitcoin wallet because of a hard drive crash is a uniquely modern kind of disaster. In 2025 alone, there were 158,000 incidents of individual wallet compromises affecting about 80,000 victims worldwide.
While many of these cases involve theft, self-inflicted data loss from failing drives is a huge problem. Specialized services can often retrieve these assets even from physically damaged hardware. You can find more details about these crypto recovery services and see how they tackle these complex situations.
The real cost of a failed DIY job isn't the money you wasted on tools; it's the permanent loss of your files. Professional labs charge what they do because they've invested hundreds of thousands of dollars in cleanroom facilities, specialized equipment, and the expertise needed to maximize the chance of a successful recovery. You aren't just paying for a service; you're paying for that high probability.
If you'd like to understand the professional approach better, you might want to read our detailed guide on what to do when your hard drive is dead. It offers more context on why expert help is so critical for serious hardware failures.
Common Questions About Hard Drive Head Replacement
A hard drive head replacement is one of the most complex procedures in data recovery. We get a lot of questions about the process, so we've answered the most common ones here to give you the clarity you need.
Can I Really Do This at Home?
The short answer is no. While it might look straightforward in a video, attempting a head swap at home has a near-zero chance of success. It's a procedure that absolutely requires an ISO-certified cleanroom, specialized tools, and a deep well of experience.
Even a single speck of dust—invisible to your eye—can get between the new head and the platter, causing a catastrophic crash that will permanently destroy your data.
It's not a question of can you open the drive. The real question is, can you afford the guaranteed data loss that comes from a DIY attempt? For any data you can't live without, this is a job for a professional lab.
How Much Does Professional Head Replacement Cost?
Because a head stack replacement is such an advanced recovery service, the cost reflects the expert labor, parts, and cleanroom environment involved.
You can generally expect the price to fall between $700 and $2,500, sometimes more.
Several things influence the final cost:
- Drive Model and Rarity: Sourcing a compatible donor drive for a rare or old model can be both difficult and expensive.
- Severity of Damage: If the failing heads have already started scoring the platters, the recovery becomes much more difficult and time-intensive.
- Number of Heads/Platters: Drives with more platters require a more delicate and risky swap.
While it's a serious investment, it's often a small price to pay to get back critical business files, irreplaceable family photos, or other valuable digital assets.
Is a Head Swap a Permanent Fix for My Drive?
Absolutely not. It's vital to understand that a head replacement is not a repair. It's a temporary, highly specialized surgical procedure done for one reason only: to create a short, stable window to clone your data onto a healthy new drive.
The donor heads are never a perfect match for the original drive's unique internal calibration. Even with a successful swap, they will fail again. The original drive is compromised and should never be trusted with data again. Once we image the data, the old drive is retired for good.
What if My Crypto Wallet Is on the Failed Drive?
If you have a crypto wallet file (like a wallet.dat or an Ethereum keystore file) on a drive with failing heads, do not try anything yourself. The risk of making a mistake and permanently losing your crypto assets is enormous.
The only safe path forward is to engage professionals. First, a data recovery lab must perform the head swap to extract the raw wallet file. From there, a specialized crypto recovery service can work on accessing the wallet.
If you've lost access to a crypto wallet on a failing drive, the situation is critical but not hopeless. At Wallet Recovery AI, we specialize in securely accessing locked or corrupted wallets after the files have been recovered. Our AI-driven techniques can help you regain control of your assets without compromising your privacy. Learn more and get expert help today by visiting us at https://walletrecovery.ai.
Leave a Reply