When your Sony VAIO starts acting up, it can be tempting to panic. But before you do anything drastic, know this: most VAIO laptops come equipped with powerful, built-in recovery tools. You've likely got either the VAIO Recovery Center or a dedicated "ASSIST" button designed for exactly this situation.
A Sony VAIO laptop recovery really boils down to two main paths. You can either rewind the system to an earlier, healthier state (keeping your files safe) or wipe it clean with a full factory reset. The right choice depends entirely on what’s gone wrong.
Your First Steps In Sony VAIO Recovery
Hold on a minute. Before you start clicking recovery options, you need a game plan. Rushing in and choosing the wrong fix is the fastest way to accidentally delete all your photos, documents, and personal files. The first order of business is always to diagnose the problem.
Think of it this way: if your VAIO has just gotten slow and bogged down over time, a simple System Restore is probably all you need. It's like a time machine for your system software, and it won't touch your personal data. But if the laptop won't boot at all or has been hit by a nasty virus, you're likely looking at a more serious procedure like a factory reset.
Understanding Your Recovery Options
Each recovery method is a different tool for a different job. Knowing which one to grab is the key to a successful fix without unnecessary data loss.
Choosing the right tool for the job is crucial. This table breaks down your main options, what they do, and when you should use them.
Sony VAIO Recovery Methods at a Glance
| Recovery Method | Best For | Data Impact | Difficulty |
|---|---|---|---|
| System Restore | Fixing recent software issues, driver conflicts, or sluggishness. | No Impact – Your personal files, photos, and documents are safe. | Easy |
| VAIO Recovery Center | Creating recovery media, accessing advanced tools, or starting a full reset. | Varies – Depends on the option you choose within the Center. | Intermediate |
| Recovery Media (Disc/USB) | When the recovery partition is gone or you've replaced the hard drive. | High Impact – Using media almost always leads to a full system wipe. | Intermediate |
| Factory Reset | Severe OS corruption, persistent viruses, or preparing the laptop for sale. | Total Data Loss – Erases everything and returns the VAIO to its out-of-the-box state. | Advanced |
As you can see, jumping straight to a Factory Reset for a minor slowdown is a big mistake. Always start with the least destructive option first.
A Look at Your Primary Tools
Let's get familiar with the tools at your disposal:
- VAIO Recovery Center: This is your mission control for all things recovery. You can launch a System Restore, create your own recovery media, or kick off a full factory reset from here. On most models, you can get to it by pressing the F10 key right after you power it on, or by using the "ASSIST" button if your laptop has one.
- Recovery Media (Discs or USB): Think of these as your emergency backup. If your hard drive's hidden recovery partition gets corrupted or you install a new drive, these are your only way back. You should always create a set of recovery media before you run into trouble.
- Factory Reset (Complete System Recovery): This is the nuclear option. It wipes the entire hard drive clean and reinstalls a fresh copy of Windows, exactly as it was when you first unboxed it. This will delete all of your personal files, so it's a last resort or for when you've already backed everything up.
The most common mistake I see is people going straight for a factory reset when a simple System Restore would have fixed the problem and saved their data. Always, always start with the least invasive fix first.
This decision tree gives you a visual guide for what to do based on the symptoms you're seeing.

As the chart shows, a slow laptop calls for a much different approach than one that won't boot at all. By taking a moment to assess the situation, you can choose the right path and solve the problem without creating a new one.
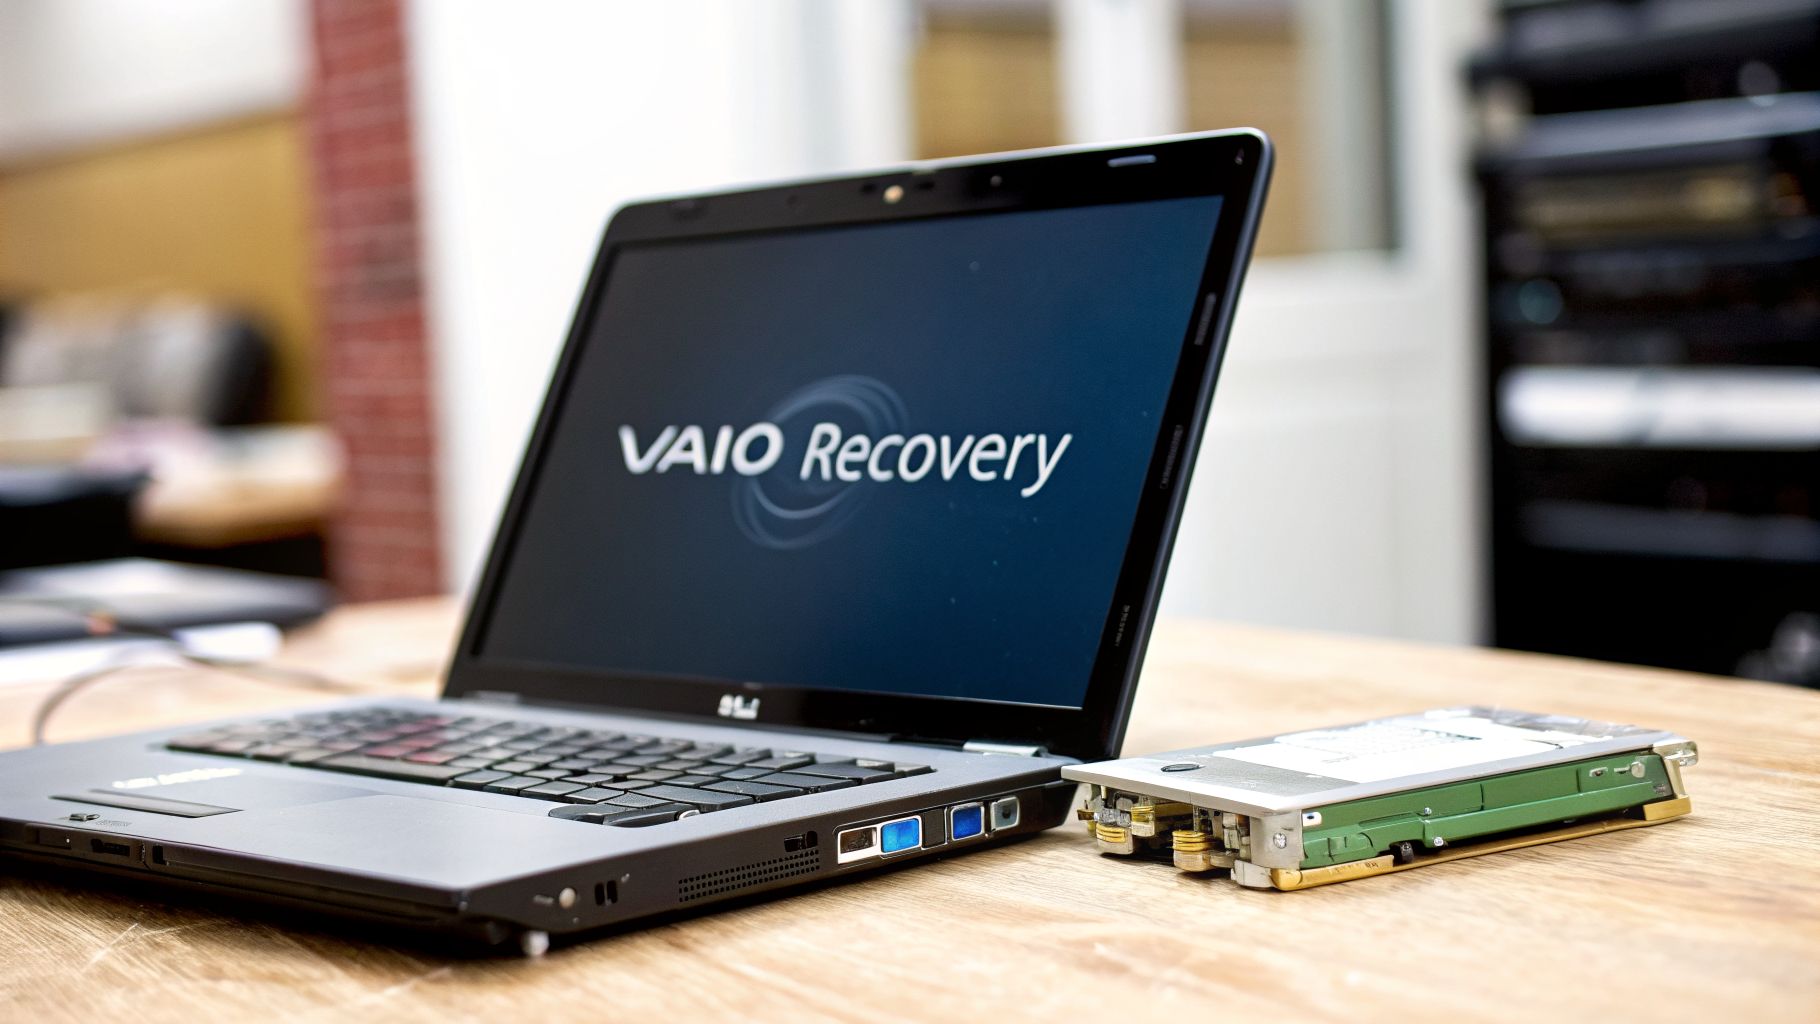
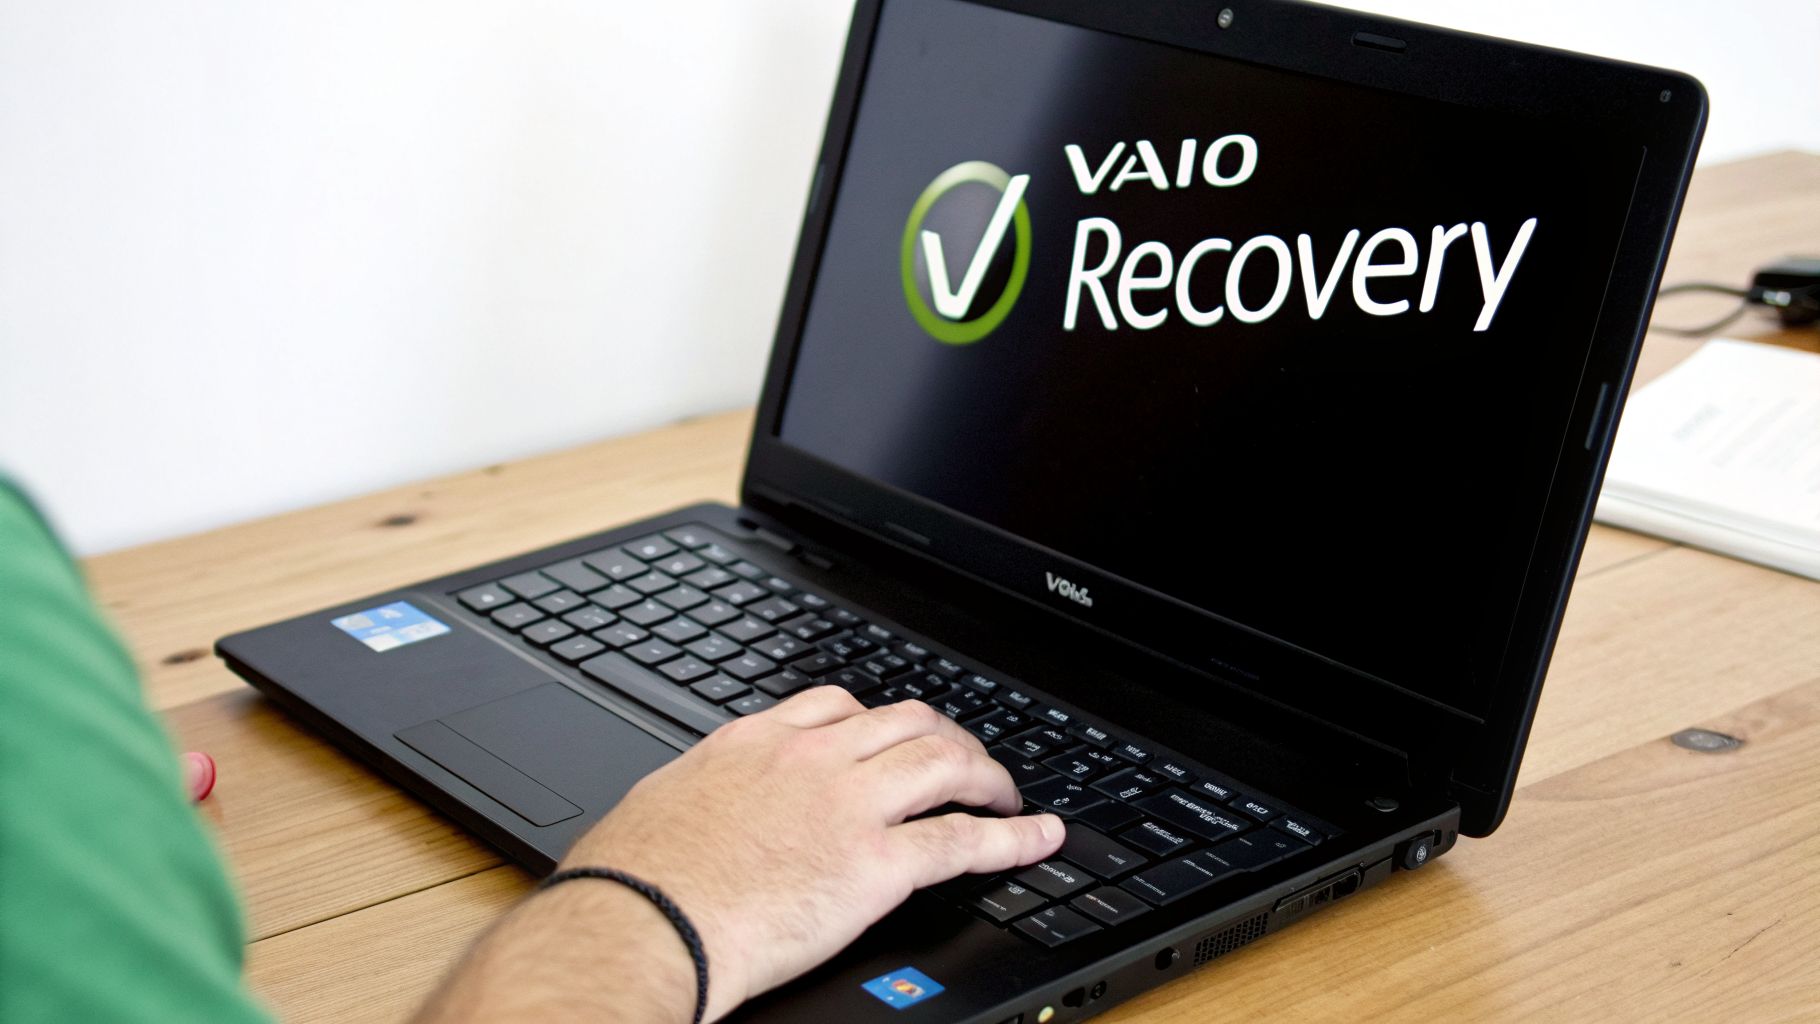
Using the Built-In VAIO Recovery Center
Most Sony VAIO laptops shipped with a lifesaver built right in: a dedicated, hidden hard drive partition loaded with the VAIO Recovery Center. Before you even think about creating a bootable USB, this should always be your first stop for fixing major software problems. It’s designed specifically for your hardware.
Getting into it is usually simple. Just restart your VAIO and start tapping the F10 key the moment you see the VAIO logo pop up. Some models, however, have a dedicated ASSIST button near the power button—for those, you'll press it while the laptop is completely off. This tells the machine to boot directly into the recovery tools instead of loading Windows.
Navigating the Recovery Options
Once you're in, the menu might be called VAIO Recovery Center or VAIO Care Rescue Mode on newer machines. You’ll see a few options, but the two you absolutely need to understand are System Restore and Complete System Recovery. Mixing these up is the fastest way to accidentally lose your data.
System Restore: Think of this as a time machine for your system files. It’s the perfect fix if you just installed a bad driver or some software that’s making Windows unstable. It rolls back system settings to an earlier point without touching your personal files like photos, documents, or music.
Complete System Recovery (Factory Reset): This is the nuclear option. It wipes the hard drive clean and reinstalls a fresh copy of Windows, along with all the original VAIO software. Your laptop will be exactly like it was on day one, which also means all your personal data will be erased.
I recently had a client whose VAIO was stuck in an endless boot cycle after a botched Windows update. We hit F10 to get into the Recovery Center, ran a System Restore to a point from the week before, and it booted up perfectly. All his project files were safe and sound.
The most crucial distinction to make is between a restore and a full recovery. A restore fixes the system; a recovery erases it. If you have any doubt, always back up your data first if you can.
When to Choose a Complete System Recovery
While a System Restore is always worth a try first, some problems are just too deep for a simple rollback. Sometimes, wiping the slate clean is the only way forward.
A full factory reset is your best bet in these situations:
- Stubborn Malware: If your antivirus software can't get rid of a nasty infection, a factory reset is the only way to be 100% sure it's gone for good.
- Deep OS Corruption: When critical Windows files are damaged beyond repair, leading to constant blue screens or a complete failure to boot.
- Selling or Gifting the Laptop: You absolutely must wipe your personal data with a factory reset before letting the machine go to a new owner.
Honestly, one of the most common reasons I do this for clients is to fight years of built-up digital grime. Over time, VAIOs get bogged down with junk files and registry errors. A factory reset clears all that out and can make an old laptop feel surprisingly snappy again.
The Step-By-Step Factory Reset Process
If you’ve backed up your files and decided a full recovery is what you need, the process itself is pretty straightforward. Once you select the "Complete System Recovery" or "Restore C: Drive" option, a wizard will pop up.
It’s going to warn you—probably more than once—that all data will be erased. This is your last chance to turn back. Once you give it the final green light, the process kicks off and you just have to let it run. It can take anywhere from 30 minutes to a couple of hours, and the laptop will restart several times. Don’t touch it.
When it’s all done, you’ll see the original Windows setup screen, just like when you first unboxed it. From there, you'll set up your user account, reinstall your programs, and restore your files from your backup. It's a fresh start, and often the best medicine for an ailing Sony VAIO.
Creating and Using VAIO Recovery Media
The built-in VAIO Recovery Center is great, but it has a major weak spot: it lives on your hard drive. If that drive fails or the recovery partition gets corrupted—something I’ve seen countless times on older machines—that handy tool is completely useless.
This is where physical recovery media becomes your absolute lifesaver. We’re talking about a set of bootable DVDs or a USB drive that holds a perfect copy of your VAIO’s factory image. You create it once, when everything is running smoothly, and tuck it away for a rainy day. For anyone with an aging VAIO, like the classic E-series known for eventual hard drive trouble, this isn't optional. It's essential.

Proactively Create Your Recovery Media
The absolute best time to make your recovery media is right now, before you’re in a panic. The process is handled by the VAIO Care or VAIO Recovery Center software that shipped with your laptop. You'll need a few blank DVDs (usually 3-4) or a single USB flash drive that’s at least 16GB.
To get started, pop open your Start menu and search for "VAIO Care" or "VAIO Recovery Center." Once you launch the app, look for an option labeled something like "Create Recovery Media" or "Recovery and Restore." A wizard will then walk you through the rest, letting you choose between creating DVDs or a USB drive and then copying the entire factory image.
The whole thing can take over an hour, so just let it run. When it’s done, label the media clearly and store it somewhere you won't forget. You’ve just created the ultimate fallback for any future Sony VAIO laptop recovery disaster.
Having your own recovery tools has always been a core part of owning a VAIO. When the brand launched in 1997 with expensive machines like the US$2,000 PCG-505, it attracted a professional crowd that valued design. But early on, customer service struggled to keep up. One study found VAIO's overall satisfaction rating at 71%—high marks for style, but a clear gap in support. This history really highlights why being self-sufficient with your own recovery media is so critical, especially when a failed partition can leave you stranded. You can read more about it in this detailed study on early VAIO customer satisfaction.
Using Your Recovery Media for a Full Restore
So, the worst has happened. Your laptop won't start, and hitting the F10 key does nothing. It’s time to grab that recovery media you made. This process will perform a complete system wipe, restoring the original Windows OS and all the VAIO software.
First, you need to force the laptop to boot from your USB or DVD drive instead of the dead internal hard drive. This is all done in the BIOS/UEFI settings.
Crucial Tip: To get into the BIOS, you have to press a specific key—usually F2, F8, or DEL—the moment you power the laptop on. The right key often flashes on the screen for just a second, so be ready.
Once you’re in the BIOS, find the "Boot" or "Boot Order" menu. Your goal is to move the "USB Device" or "CD/DVD Drive" to the very top of the list, placing it above the "Hard Drive." After you’ve made the change, make sure you save and exit.
With the recovery USB plugged in or the first DVD in the drive, your laptop should now boot straight into the recovery environment. A wizard will pop up to guide you, and it will give you several stark warnings that all data on the hard drive will be deleted.
As soon as you give it the green light, the process kicks off. It will start copying the factory image back onto the hard drive, which can take a good chunk of time. Your laptop will restart several times; don’t touch it. Once it's all done, you’ll be looking at the fresh Windows setup screen—the same one you saw on day one. Your VAIO is officially back from the dead.
Recovering Data From a Dead VAIO Laptop
There are times when fixing the laptop is no longer the mission. The new goal is to rescue your irreplaceable files. When a VAIO refuses to power on, it’s a gut-wrenching feeling, but don't panic—it doesn't mean your data is gone for good. More often than not, the hard drive is perfectly healthy even when the laptop's motherboard or screen has given up the ghost.
This is where we switch gears from system recovery to pure data recovery. Forget about getting the VAIO running; we're going in to surgically extract your photos, documents, and memories. We’ve got a couple of solid tactics for this exact situation.
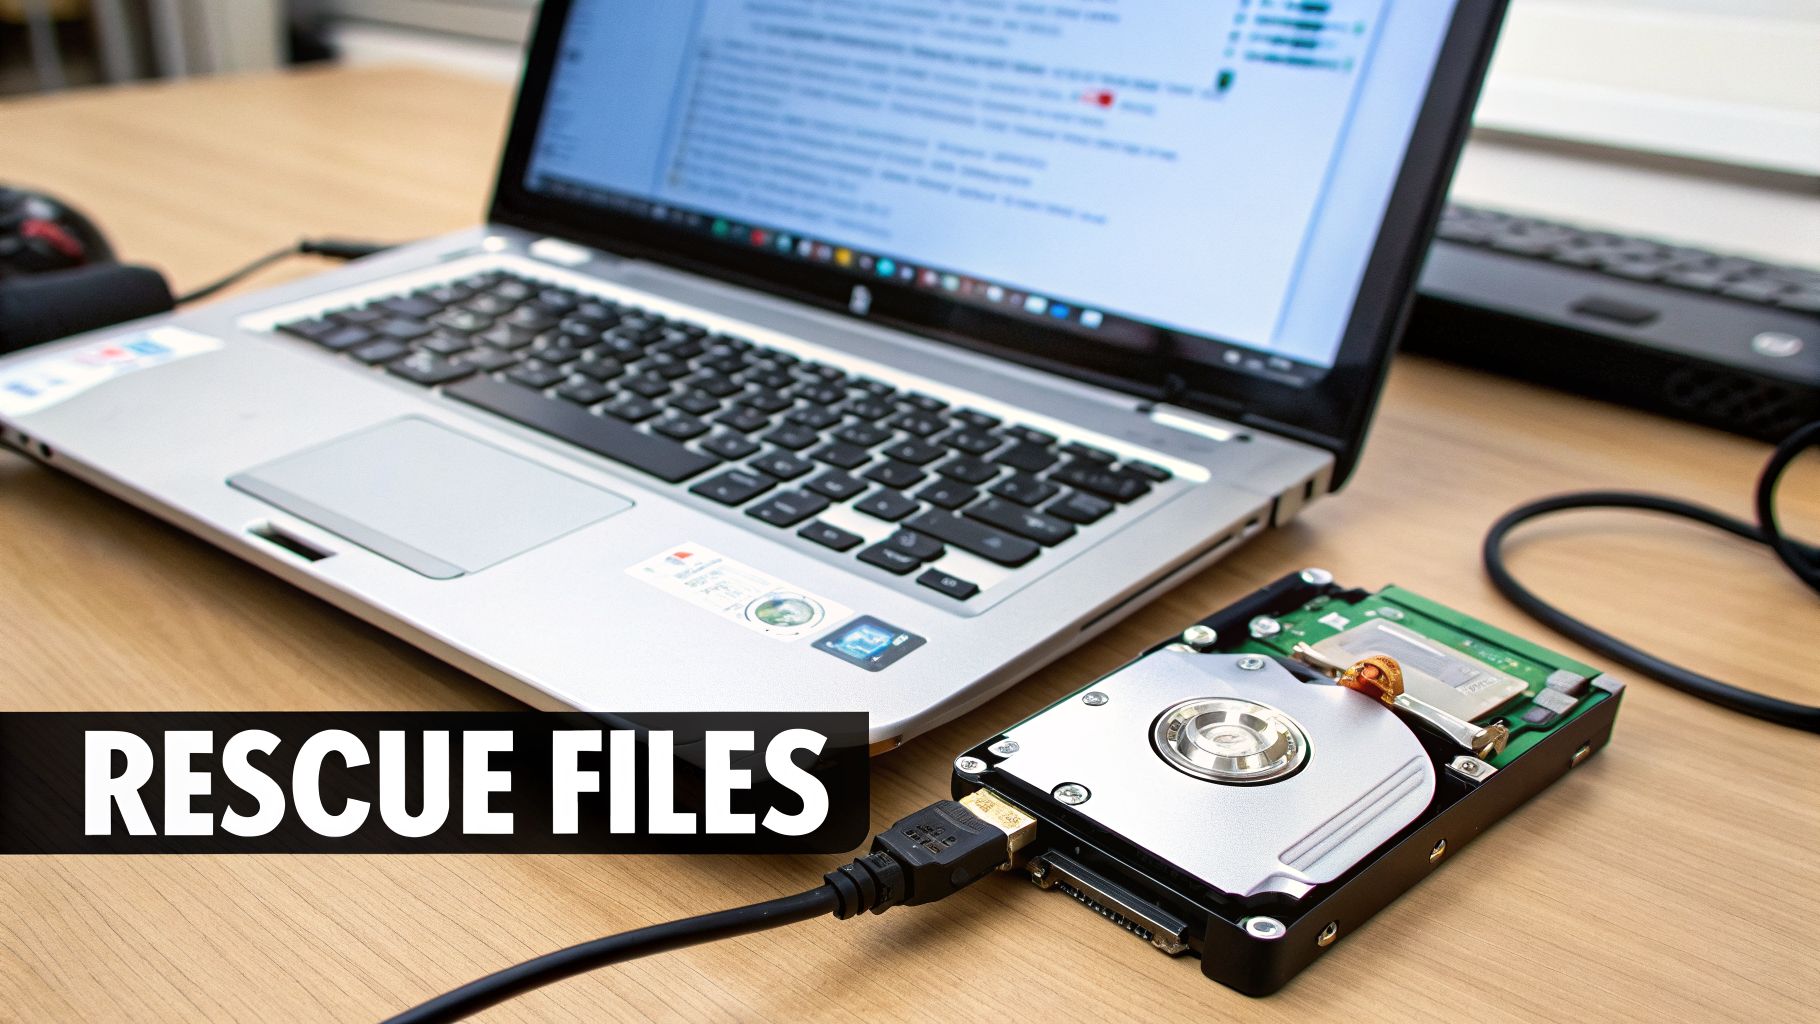
The Hard Drive Extraction Method
This is the most direct and reliable approach I recommend: physically pulling the hard drive out of the laptop. It sounds more intimidating than it is. In most cases, it's about as complex as swapping a battery. All you'll need is a small Phillips head screwdriver and an inexpensive USB-to-SATA adapter.
Think of this adapter as a universal translator. It lets you plug the laptop's internal hard drive directly into any other computer's USB port, making it appear just like a standard external drive.
First, flip your VAIO over. The hard drive is typically tucked away under a small plastic cover held in by one or two screws. Once you pop that off, you'll see the drive secured in a metal caddy. Just unscrew the caddy, gently slide the drive out to disconnect it, and you're halfway there.
Next, attach the SATA end of your adapter to the connector pins on the hard drive and plug the USB end into a working computer. The drive should pop up in "My Computer" or "Finder" as a new drive letter. From there, you can browse all its files and copy your user folder—which holds your Documents, Pictures, Desktop, and more—to a safe location.
This hands-on method is incredibly effective. For a deeper dive, you might find our dedicated article on how to get data off a dead hard drive useful.
The Live USB Boot Method
What if you're not comfortable opening up your laptop, or you just want to try a software-first approach? This is the perfect job for a bootable Linux Live USB. The technique involves creating a special USB stick that runs a complete operating system directly from the drive, completely bypassing your broken Windows installation.
The beauty of this method is that it lets you access the internal hard drive while it's still inside the laptop. You just boot into this temporary OS, and from there, you can see the VAIO's drive, browse your files, and copy them over to another external USB drive.
The Live USB method is a powerful, non-invasive technique. You're not installing anything or changing the broken system. You're simply using a temporary environment to perform a rescue operation on your data.
This approach became a lifesaver for owners of many older, high-end VAIOs. Back in its heyday, VAIO was marketed as a 'high-end niche product' for professionals who valued its premium design. Unfortunately, a common pain point was the built-in VAIO Recovery Center, which had a surprisingly high failure rate. Partition corruption affected as many as 25% of 2005-2012 models, forcing users into more advanced recovery scenarios like this one because the official tool simply wasn't reliable.
Choosing Your Data Recovery Path
So, which path should you take? It really comes down to your comfort level and the specific problem you're facing.
- Go with Hard Drive Extraction if: The laptop is completely dead—no lights, no sound, nothing. This is also the best bet if you're comfortable with some basic hardware tinkering. It’s the most surefire way to get to your data.
- Opt for the Live USB Method if: The laptop still powers on but just can't load Windows. This is an excellent software-only alternative that avoids opening the machine.
Both methods achieve the same thing: giving you access to your precious files when your Sony VAIO laptop recovery is about saving your data, not the machine itself. Once your files are safely backed up, you can move forward with a clean install or other repair attempts without the fear of losing everything.
How to Perform a Clean Windows Installation
So, the built-in recovery partition is toast, and you never got around to making those recovery discs. It can feel like you've hit a wall with your Sony VAIO. But don't give up yet—there's a third, and honestly, often better option: a clean Windows installation.
This approach completely bypasses Sony’s proprietary tools and installs a fresh, untouched version of Windows. The result is often a laptop that runs faster than it did straight out of the box, simply because you're shedding all that pre-installed bloatware. When all other recovery methods are off the table, this is your go-to move.
Sourcing Your Windows Installation Media
First things first, you need a legitimate copy of Windows. Thankfully, Microsoft makes this pretty easy with its official Media Creation Tool. Depending on when you bought your VAIO and its specs, you'll likely need either Windows 7 or Windows 10.
Just head to Microsoft’s website and download the tool. You'll need a blank USB flash drive with at least 8GB of free space. The tool handles the heavy lifting, downloading the necessary Windows files and making your USB drive a bootable installer.
It's amazing how many of these machines are still out there. Back in Q4 2011, Sony VAIO was the king of the hill, capturing 20% of the Indian consumer notebook market—a huge leap from just 6% in early 2010, thanks to a lineup of 62 different models. Many of those laptops now have corrupted recovery partitions, making a clean install the only way to bring them back to life. You can read more about Sony VAIO's market dominance to understand why this problem is so common today.
The Installation Process
With your bootable USB in hand, the process is pretty straightforward. You'll need to restart your VAIO and jump into the BIOS to tell it to boot from the USB drive instead of the hard drive. On most VAIOs, tapping the F2 key during startup will get you into the BIOS settings.
Once you boot from the USB, the Windows Setup wizard will take over. The most important part comes when it asks where you want to install Windows. You'll see a list of partitions on your hard drive. For a truly fresh start, you’ll want to delete all of them until you're left with one big chunk of "Unallocated Space." Select it and hit "Next."
Important Takeaway: Be warned—deleting partitions is final. It will wipe everything, including any remaining data and the old VAIO recovery partition. Make absolutely sure you have your important files backed up somewhere else before you get to this screen.
After the installation finishes, you'll have a pure, bare-bones version of Windows. It'll be snappy, but don't be alarmed if your Wi-Fi, sound, or graphics look off. That's completely normal, and it brings us to the most crucial step.
The Post-Install Driver Hunt
Here's where the real work begins. A clean install doesn't include the specific software drivers that make your VAIO's unique hardware work properly. This is the step that trips most people up. Sony’s old support websites can be a pain to navigate, but finding these drivers is non-negotiable.
Your mission is to find the drivers for your exact VAIO model number, which is usually printed on a sticker on the bottom of the laptop (e.g., VGN-FW550F or SVE15113FXS).
Here's the strategy I've used time and time again:
- Graphics Driver: This is your first priority. Without it, your screen resolution will be stuck in a low-res state and videos will be unwatchable. The easiest way is to go directly to the manufacturer's website (NVIDIA, AMD, or Intel) and use their auto-detect tool.
- Wi-Fi and Ethernet Drivers: You need these to get online and download the rest of your drivers. If you can't connect, you'll have to use another computer to download the network driver and transfer it over on your USB stick.
- Audio Driver: This is usually a Realtek or Conexant driver. The generic Windows driver might produce sound, but the correct one will enable the headphone jack, microphone, and other audio features.
- Sony-Specific Drivers: These are the magic sauce. Look for files named "Sony Firmware Extension Parser" or "Sony Shared Library." These little utilities control your VAIO's special function keys, like the brightness and volume controls.
If you formatted the drive and then had that sinking feeling that you forgot to back up a critical file, all might not be lost. Specialized software can often work wonders. We have a full walkthrough on how to recover files from a formatted hard drive that covers more advanced techniques.
Common Sony VAIO Recovery Questions
Even the best-laid recovery plans can hit a snag, especially with older VAIOs. You follow the steps, but something just doesn't work. It’s a common experience.
Let’s go over some of the most frequent roadblocks I've seen people run into, from stubborn boot keys to the panic of realizing your data might be gone for good. Here’s how to troubleshoot the most common headaches.
What If the F10 Key Does Nothing?
You’re tapping F10 on startup, expecting the recovery wizard to appear, but Windows just loads like nothing happened. This is probably the most common VAIO recovery issue, and it doesn't mean your recovery partition is corrupt.
On many models, especially from the mid-to-late 2000s, Sony used a different trick. Look for a dedicated ASSIST button, usually a small, separate button near the power button or above the keyboard.
To use it, first shut the laptop down completely. Then, press the ASSIST button instead of the power button. This tells the laptop to bypass its normal startup and boot straight into the VAIO Care rescue environment, where all the recovery tools live.
The ASSIST button is your direct line to the recovery environment. If F10 fails, this is almost always the solution. It's a fantastic feature that many owners completely forget they have.
Is Data Recovery Possible After a Factory Reset?
This is the question nobody wants to ask, and unfortunately, the answer is almost always no. A full factory restore is destructive by design. The entire point of the "Complete System Recovery" is to securely wipe the drive and return it to its out-of-the-box state.
Once that process starts, your personal files—photos, documents, everything—are overwritten.
- Before the Reset: Your only real chance is to get your data off the machine first. If you can still boot into Windows at all, even for a few minutes, your absolute priority should be copying your important files to an external hard drive.
- After the Reset: If it's already done and you didn't have a backup, your only hope is a professional data recovery service. Be prepared, as these services are often very expensive, and they can't guarantee success.
Where Can I Find Old VAIO Drivers?
You managed a clean install of Windows, but now your Wi-Fi is dead and the screen resolution is stuck at a blurry 800×600. This is a classic driver problem, and finding them for discontinued VAIOs can feel like a treasure hunt.
First, find your exact model number, which is usually on a sticker on the bottom of the laptop (e.g., VGN-FW550F). With that number, head to the official Sony support or eSupport website. If you strike out there, your next best bet is community forums. Places like Reddit's r/laptops often have old threads where people have shared archived driver packs for specific models.
This is more critical than you might think. Some of the "ultraportable" VAIO models, like certain Z-series from around 2010, had bizarre hardware. A common one was a single SSD that was actually two drives in a RAID array. Without the right storage controller driver, a clean Windows install won't even see the hard drive to begin with.
Why Won't My VAIO Boot From a USB Drive?
You've made a perfect bootable USB drive, but the laptop just ignores it and tries to load from the dead or corrupted internal hard drive. This is a classic boot order problem, and the fix is in the BIOS.
You need to tell the laptop to check for a bootable USB before it looks at the internal hard drive. Restart your VAIO and immediately start pressing the key to enter the BIOS setup—it's usually F2, but can also be DEL or F1 on some models.
Once you're in the BIOS menu, find the tab labeled "Boot" or "Boot Order." You'll see a list of devices. Your goal is to move "USB Device" or "External Device" to the very top of that list, ahead of the "Hard Drive." Once you've changed the order, go to the "Exit" tab, choose "Save and Exit," and the laptop will restart. It should now boot right from your USB drive.
Are you struggling to access lost cryptocurrency assets? At Wallet Recovery AI, we provide a specialized service using advanced techniques to help you securely regain control of your wallets. If you've forgotten a password or are locked out, submit a recovery request on walletrecovery.ai for confidential and professional assistance.
Leave a Reply