
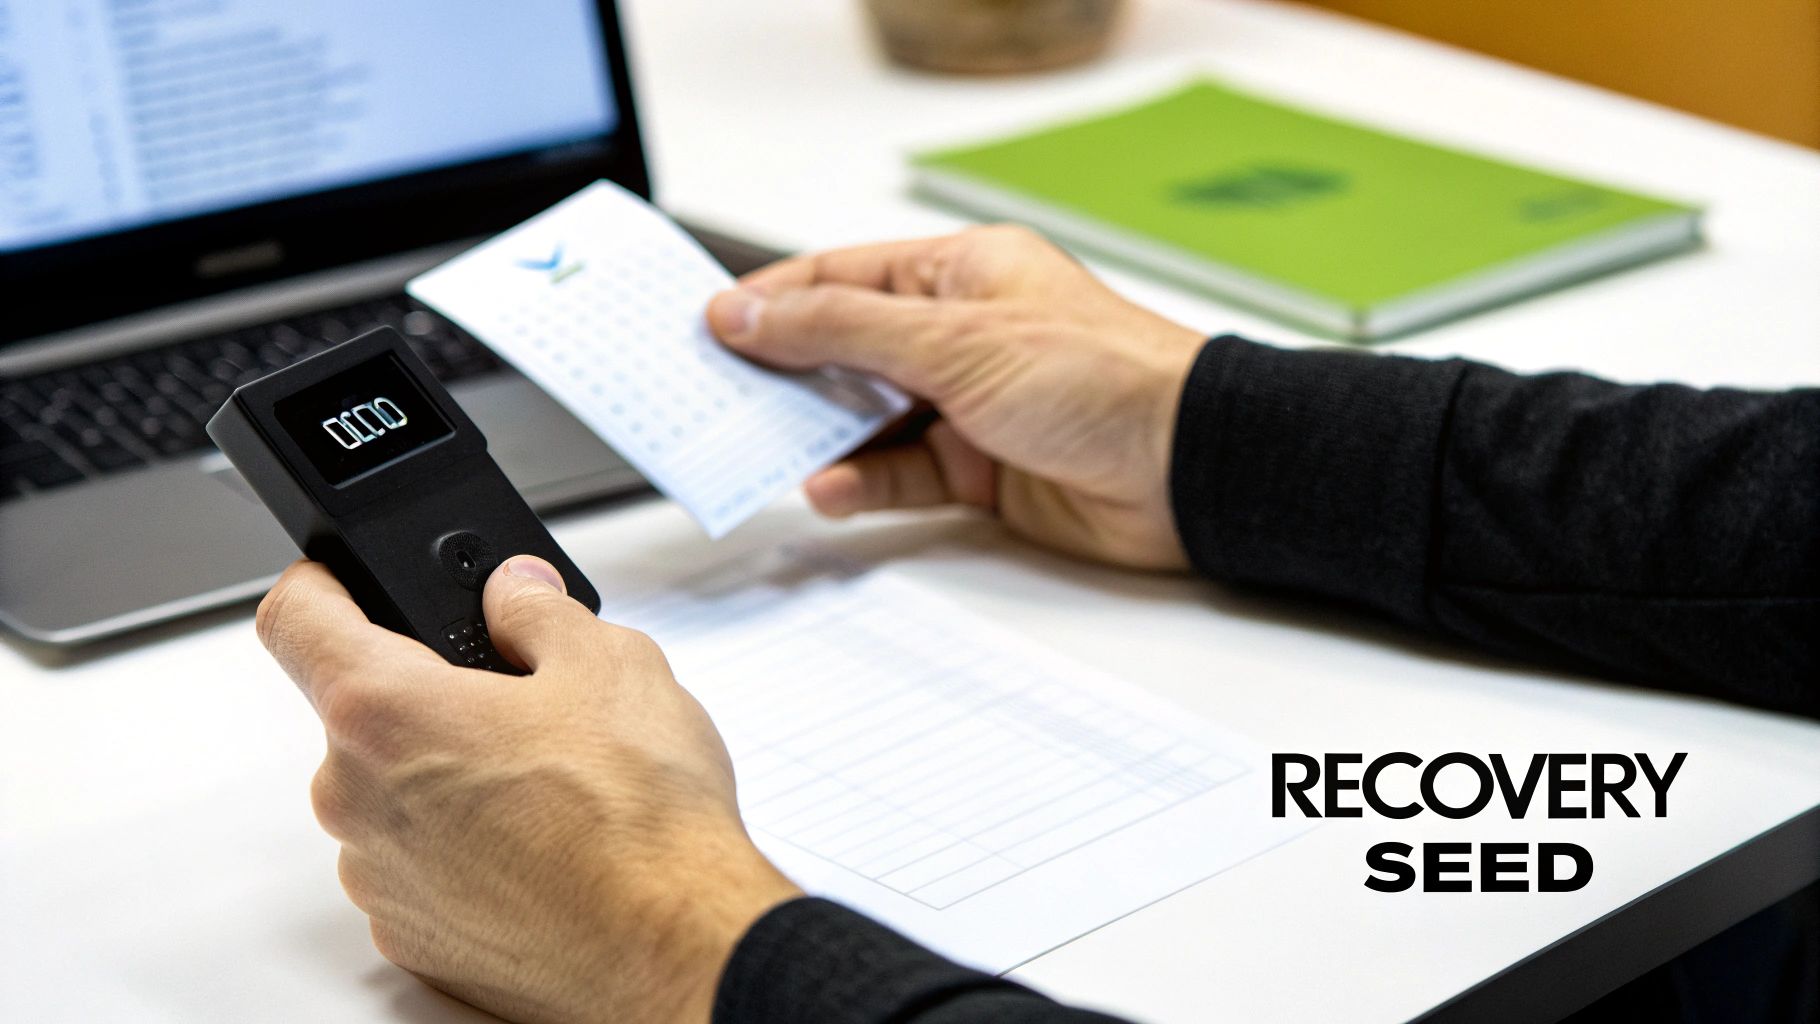
Think of your Trezor recovery seed as the ultimate master key to your crypto. It's the one thing that lets you get back into your wallet if your device gets lost, stolen, or just stops working. This seed is a list of 12 to 24 words your Trezor gives you during the initial setup.
The most important rule? Never, ever store it digitally. Write it down, and keep that physical copy somewhere incredibly safe and private.
Why Your Trezor Recovery Seed Is Your Ultimate Safety Net
Before you even think about starting a recovery, it's critical to understand what that string of words actually represents. It’s not just some backup password; it’s the direct, human-readable version of your wallet's master private key.
Your Trezor device is just the vault. Your recovery seed is the blueprint that can rebuild that exact vault—and everything inside it—from scratch, on any compatible device, anywhere in the world.
This whole system works because of an open industry standard called Bitcoin Improvement Proposal 39 (BIP39). It's the reason you can take a seed from a Trezor and restore your wallet on a Ledger, in Exodus, or pretty much any other modern wallet. Your crypto isn't locked to the physical device; it's tied directly to that unique sequence of words.
The Power of Your Seed Phrase in Action
Let's talk about real-world situations. This isn't just a theoretical failsafe; you'll absolutely need your seed if:
- Your device is gone. Dropped it? Stolen? It doesn't matter. Your funds are safe. Just grab a new hardware wallet, enter your seed, and you’re back in business.
- You're upgrading your gear. Moving from an old Trezor Model One to a new Model T? The recovery process is how you securely migrate everything over.
- You've forgotten your PIN. Enter the wrong PIN too many times, and your Trezor will wipe itself clean as a security precaution. Your recovery seed is the only way to restore access.
This puts a tremendous amount of power—and responsibility—squarely on your shoulders. It’s the very essence of self-custody, but so many people underestimate just how vital it is.
Losing a recovery seed is the number one reason people lose their crypto for good when managing their own keys. It’s a huge vulnerability, especially when you consider that Trezor shipped between 2 and 2.4 million devices by early 2024. That’s millions of people relying on a piece of paper or metal to protect their assets.
Building Confidence Through Understanding
Getting comfortable with the mechanics of your recovery seed is the first step to a stress-free restoration. Once you truly grasp that your seed is the real key, the physical device starts to feel less like a single point of failure and more like what it is: a convenient and secure tool for everyday use.
If you want to go deeper on the fundamentals, our complete guide on the wallet seed phrase is a great place to start. When you approach the recovery process with this level of clarity, you can act with confidence, knowing your seed was designed from the ground up to protect you.
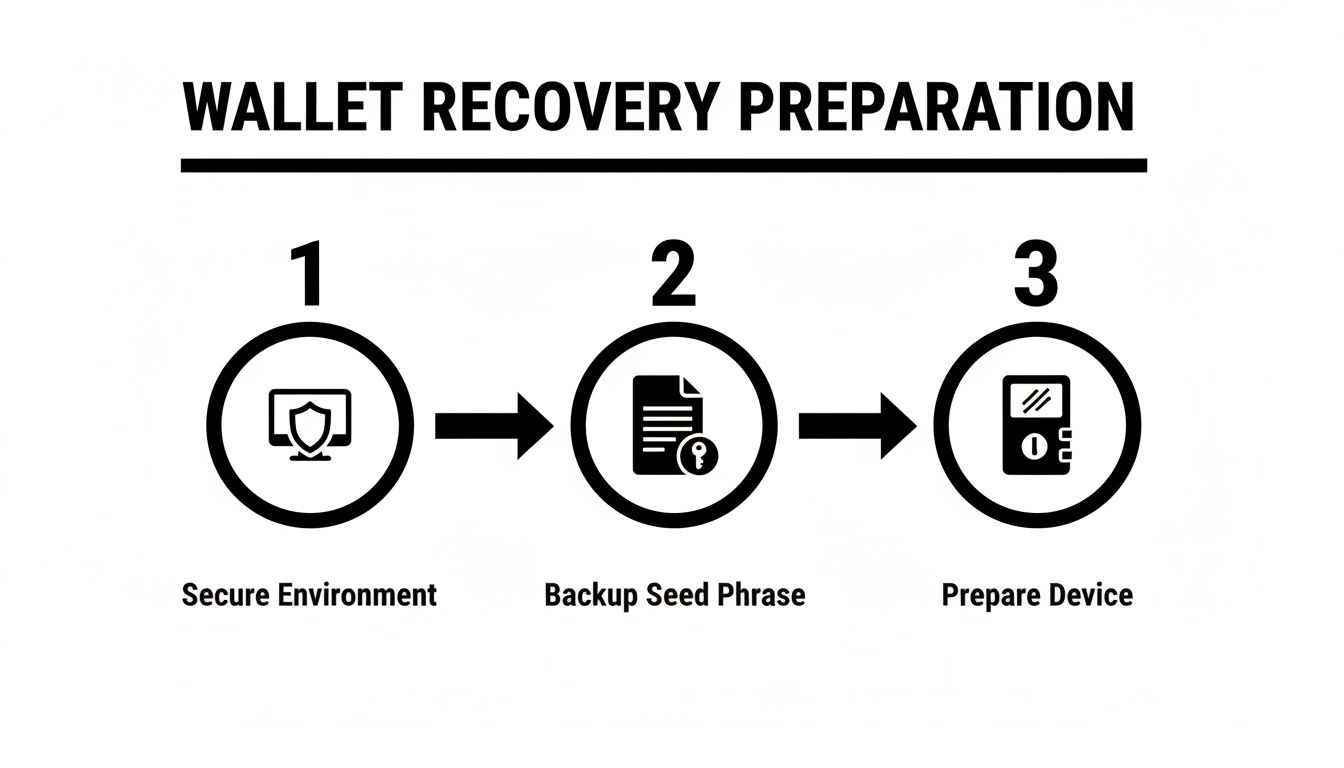
Setting the Stage for a Secure Wallet Recovery
A successful Trezor recovery doesn't start the moment you plug the device in. It actually begins much earlier, by setting up a secure, offline environment.
Think of it like preparing an operating room before a major surgery. Your crypto is on the line, and rushing this stage is one of the most common ways people expose their entire portfolio to risk.
The single most critical step? Severely limit your online exposure during the entire process. The best practice is to use a trusted computer that you can temporarily disconnect from the internet. This one move immediately shields you from malware, keyloggers, and phishing attacks that could be lurking on the machine, waiting to intercept your seed phrase.
Your Pre-Flight Checklist
Before you even think about starting, get your physical gear in order. Having everything you need right in front of you prevents distractions and keeps you from making mistakes when you're feeling the pressure.
You'll need three things:
- Your Recovery Seed Backup: This is the master key to everything. It could be on a piece of paper, a steel plate, or another physical medium.
- The Trezor Hardware Wallet: This can be a brand-new device straight out of the box or your old one after you've wiped it.
- A High-Quality USB Cable: Don't skip this. A cheap or faulty cable can cause connection drops and all sorts of frustrating errors. Use the one that came with your Trezor or another one you know is reliable.
Once your hardware is ready, it's time to prep your digital toolkit. Pay close attention here. You need to download the latest version of the official Trezor Suite software.
And here's the crucial part: only download it from the official website, trezor.io. Scammers are notorious for creating look-alike websites to trick people into downloading malicious software designed to steal your recovery seed the moment you type it in.
Pro Tip: Before you start, grab your seed phrase backup and compare the words against the official BIP39 wordlist. This list contains all 2,048 possible words. A quick check can help you catch a simple spelling mistake you might have made months or years ago, saving you a world of frustration later.
Verifying Your Seed Words
So many recovery failures boil down to a single invalid word in the seed phrase. The BIP39 standard uses a very specific list of English words, and if even one of your words isn't on that list, the process will fail. It's that simple.
For instance, if you wrote down "enhance" but the correct word was actually "entrance," the wallet just won't restore.
By taking the time to prepare your environment, gather your tools, and double-check your software and seed phrase, you turn a high-stakes, stressful situation into a calm, methodical procedure. This is the foundation of a successful recovery using your recovery seed trezor.
A Practical Walkthrough of the Trezor Restore Process
Okay, you've secured your space and you have your recovery seed right in front of you. Now for the main event: bringing your wallet back to life. This is where you'll be hands-on with your Trezor device and the Trezor Suite software, and we're going to walk through it together to make sure everything goes smoothly.
The moment you plug in your new or freshly wiped Trezor, the Suite app will recognize it and give you a few options. Look for the "Recover wallet" button—that’s your starting line. Clicking it kicks off the sequence where you’ll feed the device the recovery seed Trezor generated when you first set things up.
Choosing Your Recovery Method
Trezor Suite presents you with two ways to get this done: Standard Recovery and Advanced Recovery. This isn't just a matter of preference; it's a critical security decision.
- Standard Recovery: This method involves typing your seed words using your computer’s keyboard. It’s clever—the app shuffles the letters on your screen to thwart keyloggers, while your Trezor’s screen shows the correct layout. You essentially play a matching game.
- Advanced Recovery: This is the gold standard. Your seed phrase never, ever touches your computer. You enter every single word directly on the Trezor device itself. For the Model T, you'll use the touchscreen, and for the Model One, you'll use the physical buttons.
While the Standard method has its own protections, I always tell people to go with the Advanced recovery. It perfectly aligns with the whole reason you bought a hardware wallet in the first place: keeping your most sensitive secrets completely offline.
My Advice: Always choose the Advanced Recovery method. No exceptions. It guarantees that even if your computer is riddled with malware, your seed phrase stays safely isolated on your trusted Trezor device.
Comparing Standard vs Advanced Recovery Methods
To make the choice crystal clear, let's break down the key differences. This table should help you see why the Advanced method is almost always the right call for anyone serious about their security.
| Feature | Standard Recovery | Advanced Recovery |
|---|---|---|
| Input Method | Computer keyboard (with on-screen obfuscation) | Directly on the Trezor device (buttons or touchscreen) |
| Seed Exposure | Seed words are typed into the computer, creating a potential risk. | Seed phrase never leaves the physical hardware wallet. |
| Security Level | Good. Protects against basic keyloggers. | Highest. Immune to all computer-based threats like spyware. |
| Best For | Users in a trusted environment, but still not ideal. | Everyone. This is the recommended, most secure practice. |
| Time to Complete | Generally faster, especially with a physical keyboard. | Can be slower, particularly on the Model One with buttons. |
Ultimately, the extra minute or two it takes for Advanced Recovery is a tiny price to pay for complete peace of mind.
Entering Your Seed Phrase Step-by-Step
Let's assume you've made the smart choice and selected Advanced Recovery. Get ready for a slow, deliberate process—and that's a good thing. Your Trezor will now ask you to enter each word from your recovery seed, one at a time.
If you're using a Trezor Model T, a small keyboard will pop up on the touchscreen. As you start typing a word, the device will cleverly suggest valid words from the official BIP39 wordlist. This is a fantastic feature that helps you avoid frustrating typos.
For those with a Model One, the process is a bit more old-school. You'll use the two physical buttons to scroll through letters and select them. Yes, it’s slower, but it is every bit as secure. The most important thing here is patience. Double-check every single word against your physical backup before you hit confirm.
As you successfully enter each word, your Trezor will confirm it and ask for the next one. Meanwhile, the Trezor Suite app on your computer screen will just show a simple progress bar, reassuring you that things are moving along without ever revealing the words you're typing.
Once you’ve entered the final word of your recovery seed, Trezor runs a final check (a checksum) to verify its integrity. If everything is correct, you'll get a success message on the device. From there, the Suite will guide you through setting a new PIN and giving your device a name.
And just like that, you’re back in. All your accounts and balances will be restored exactly as you left them.
Handling Passphrases and Accessing Hidden Wallets
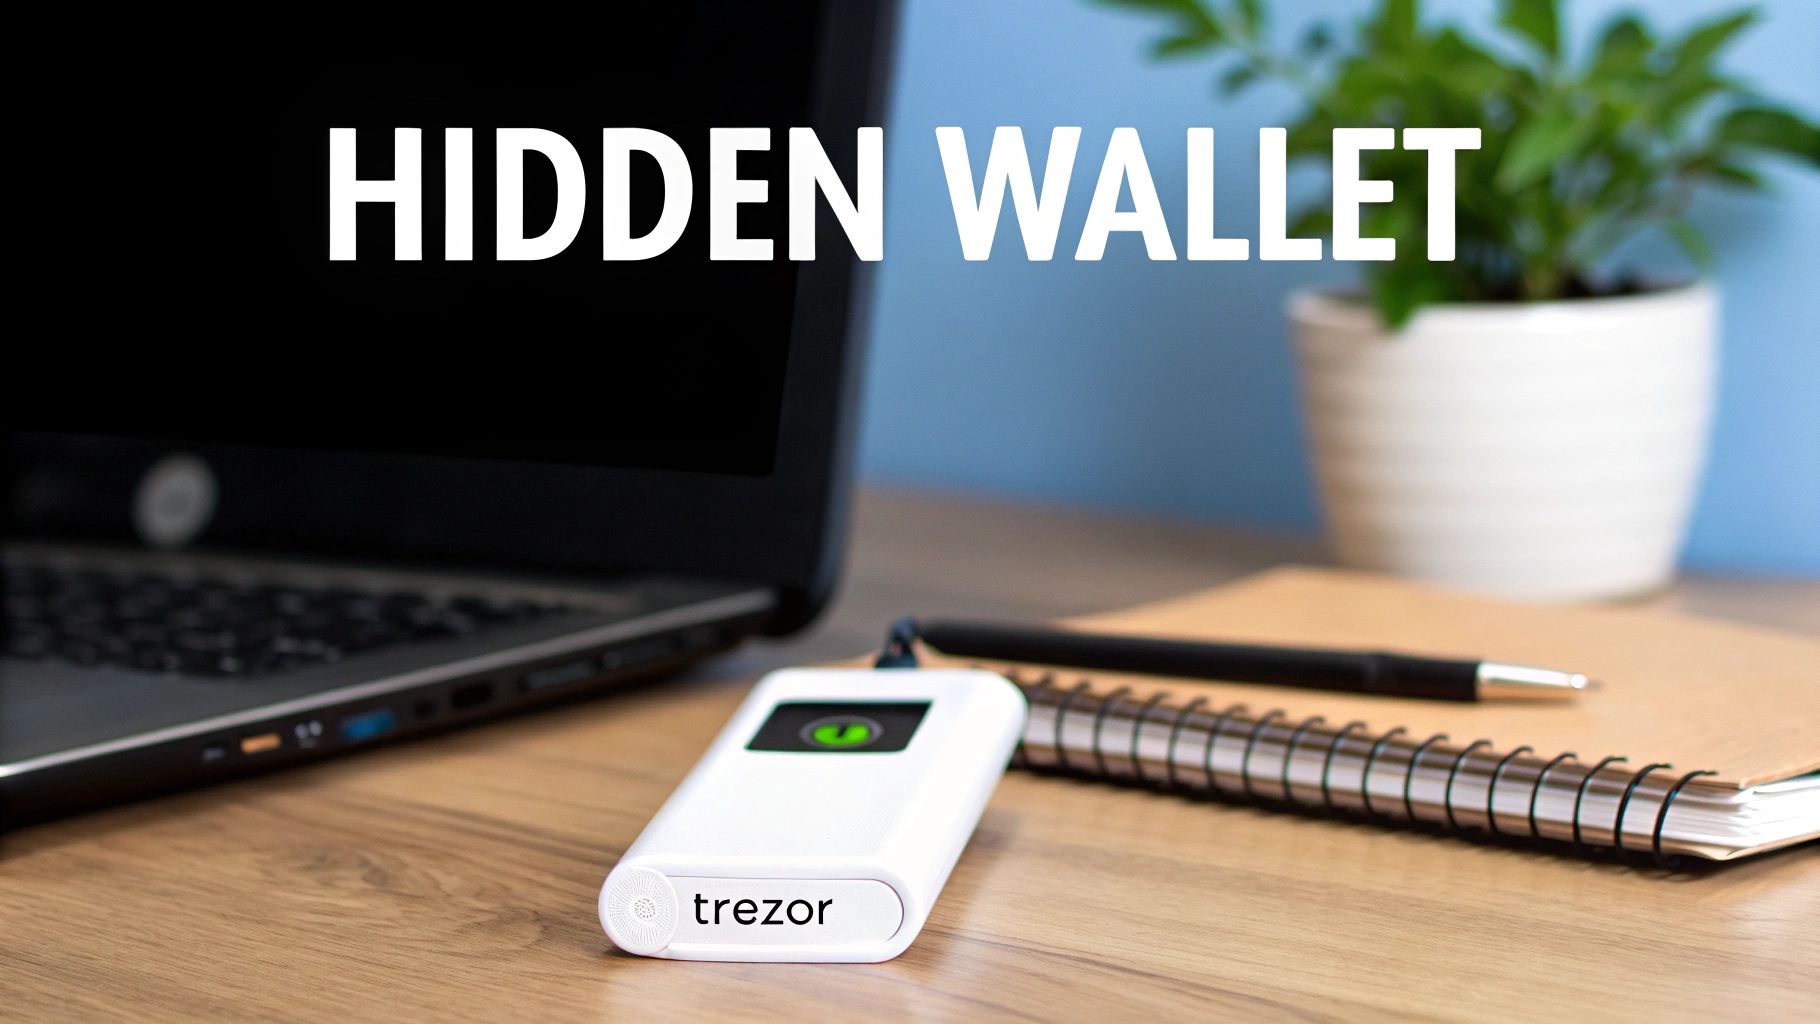
You’ve carefully entered your recovery seed Trezor confirms everything looks good, but when you open Trezor Suite… your balance is zero. It's a heart-stopping moment, but it almost never means your funds are gone. In nearly every case I've seen, the missing piece of the puzzle is the passphrase.
Think of the passphrase as the "25th word." It's an optional, extra security layer you create yourself. Unlike your 12 or 24-word seed, it is never stored on the Trezor device. It only exists in your head or wherever you securely backed it up.
This is an incredibly powerful feature. Someone could find your physical seed phrase, but without the right passphrase, all they'll access is an empty, decoy wallet.
Re-Enabling the Passphrase Feature
Here’s a small detail that often gets overlooked: after a full recovery, the passphrase feature is disabled by default. You have to manually switch it back on to get to any hidden wallets you were using.
It's a straightforward process in Trezor Suite:
- Head into Settings (the gear icon in the top-right).
- Click over to the Device tab.
- Scroll down to the Security section and find Passphrase.
- Just click the Enable Passphrase button.
Once that’s done, your Trezor will ask for a passphrase every time you connect or unlock it. This is where you'll type in the exact one tied to your hidden wallet.
Key Takeaway: The passphrase is a custom word or phrase that pairs with your recovery seed to create a completely unique, hidden wallet. Forgetting or mistyping it is the number one reason people see a zero balance after a successful restore.
What Happens When You Enter the Wrong Passphrase
This is what trips up so many users. Entering the wrong passphrase doesn't give you an error message. Instead, your Trezor just generates a brand-new, empty wallet tied to that specific (and incorrect) passphrase.
I like to use an analogy: your seed phrase is the master key to an apartment building, and the passphrase is the key to a specific apartment door. If you use the wrong apartment key, the building doesn't tell you "wrong key"—it just opens a different, empty apartment.
The system is designed this way for plausible deniability, which means you have to be precise. A single misplaced capital letter, an extra space at the end, or a simple typo will point you to a different wallet entirely. For example, "MyPassword123" and "mypassword123" create two completely separate hidden wallets. If you're going from memory, it's worth trying a few common variations. If you want to dive deeper into the technical side of how seed phrases work, our guide on a mnemonic code converter is a great place to start.
Solving Common Trezor Recovery Problems
Even when you do everything right, the recovery process can sometimes throw you a curveball. Staring at an error message or, worse, a zero balance after restoring your wallet is a heart-stopping moment, but it’s rarely a sign that your crypto has vanished. More often than not, it's a simple, fixable issue.
One of the most common roadblocks is the dreaded "Invalid Recovery Seed" error. This almost always comes down to a simple mistake made when you first wrote down or later re-entered the seed. A single typo, like jotting down "winter" instead of "winner," or getting the word order wrong is all it takes to make the validation fail. Remember, the sequence of your words is just as critical as the words themselves.
Another thing that trips people up is using non-standard seed phrases. If your recovery seed wasn't generated by a Trezor—maybe it came from an older wallet like Electrum—it might not follow the BIP39 standard that Trezor requires. In that case, the device simply won't recognize it.
My Balance Shows Zero After a Successful Restore
This is the one that really causes panic. You've painstakingly entered your seed, set a new PIN, and Trezor Suite gives you the green light. But when you look at your accounts… nothing. It’s all empty.
Before you start to spiral, ask yourself one crucial question: did you use a passphrase?
As we covered earlier, a passphrase (that optional "25th word") creates an entirely separate, hidden wallet. If you forget to enable the passphrase feature and enter your specific phrase after a restore, you’ll only be looking at the empty, standard wallet. This isn't a bug; it's a fundamental part of Trezor's security design.
The most common support tickets for hardware wallets relate to user error during the initial seed phrase backup. Rushing this critical step is a leading cause of recovery problems down the line.
Sometimes, the culprit is much less dramatic. Temporary sync issues can cause a zero balance to appear. Simply restarting the Trezor Suite app or clearing its cache can often solve the problem by forcing the software to rescan the blockchain for your transactions.
The huge market surges we've seen have led to massive spikes in hardware wallet sales. This means a lot of new users are generating and recording seed phrases for the very first time, often in a hurry to get set up. Understanding that these common problems are usually fixable is a huge part of the learning curve for taking self-custody seriously. You can learn more about the conditions that raise user mistakes on quantumrun.com.
Common Questions We Hear About Trezor Recovery
When you're trying to get your Trezor back online, a lot of "what if" scenarios can pop into your head. It's totally normal. Things don't always go perfectly to plan, so let's walk through some of the most common questions and sticking points people run into.
Think of this as a quick-reference guide to solve those nagging little problems that can crop up during a restore.
What Happens If I Enter My Recovery Seed Words in the Wrong Order?
This is a big one, and it trips people up all the time. If you mix up the order of your seed words, you will successfully restore a wallet—it just won't be your wallet. It will be a completely different, valid wallet that is almost certainly empty.
The order of the words is just as critical as the words themselves. It's the precise sequence that generates your unique private keys. If your funds are missing after a restore, the very first thing you should do is start over. This time, double- and triple-check the word order against your physical backup. Swapping just two words sends you to the wrong address entirely.
Is It Safe to Type My Seed Phrase on My Computer?
Trezor gives you two ways to do this, and understanding the difference is key to your security. The gold standard is the Advanced Recovery method. This lets you enter the seed words directly on the Trezor device itself, meaning your master secret never, ever touches your computer. It's the safest way, period.
The Standard Recovery method has you type the words on your computer, but it cleverly shuffles the letters on-screen to throw off basic keyloggers. It's a smart design, but the universal best practice is to stick with the Advanced method. Why take any chances with malware? Keep it on the device.
Key Takeaway: Your Trezor uses the BIP39 standard, which is an open protocol. You're never locked into a single brand. That recovery seed is your passport to freedom—you can restore your assets on almost any modern hardware or software wallet. That’s what real self-custody is all about.
My Trezor Is Broken. Do I Need to Buy a New One?
Nope. This is the beauty of the BIP39 standard I just mentioned. You are not locked into the Trezor ecosystem at all. As long as you have that recovery seed, you can restore your entire wallet on a different device.
You could buy a new Trezor, of course, but you could just as easily use a device from Ledger or a trusted software wallet like Electrum or BlueWallet. This interoperability is a core feature of self-custody. Your keys, your crypto—no matter what happens to the physical device.
Can I Use a 12-Word Seed to Recover a 24-Word Wallet?
Absolutely not. A 12-word seed and a 24-word seed are two completely different things from a mathematical standpoint. They generate entirely separate sets of private keys, and there's no way to convert one into the other.
When you start the recovery process in Trezor Suite, it will ask you to select the length of your seed—12, 18, or 24 words. You have to choose the exact length that your wallet was originally created with. Get this wrong, and the restore will fail or, worse, lead to an empty wallet.
If you've hit a wall and the standard recovery steps just aren't cutting it, it might be time to call in a specialist. Wallet Recovery AI uses confidential, AI-driven techniques to help people regain control of their assets when all else fails. Learn more about our crypto access restoration services at walletrecovery.ai.
Leave a Reply