It’s a sound that sends a shiver down your spine: the rhythmic click-click-click of a dying hard drive. Or maybe it’s just silence when there should be the familiar whir of your computer booting up. In that moment of panic, your first instinct is your worst enemy.
To have any chance of recovering from a hard disk failure, the single most important thing you can do is power down the device immediately. Seriously. Unplug it. Continuing to run a failing drive, even for just a few minutes, can be the difference between a successful recovery and losing your crypto assets forever.
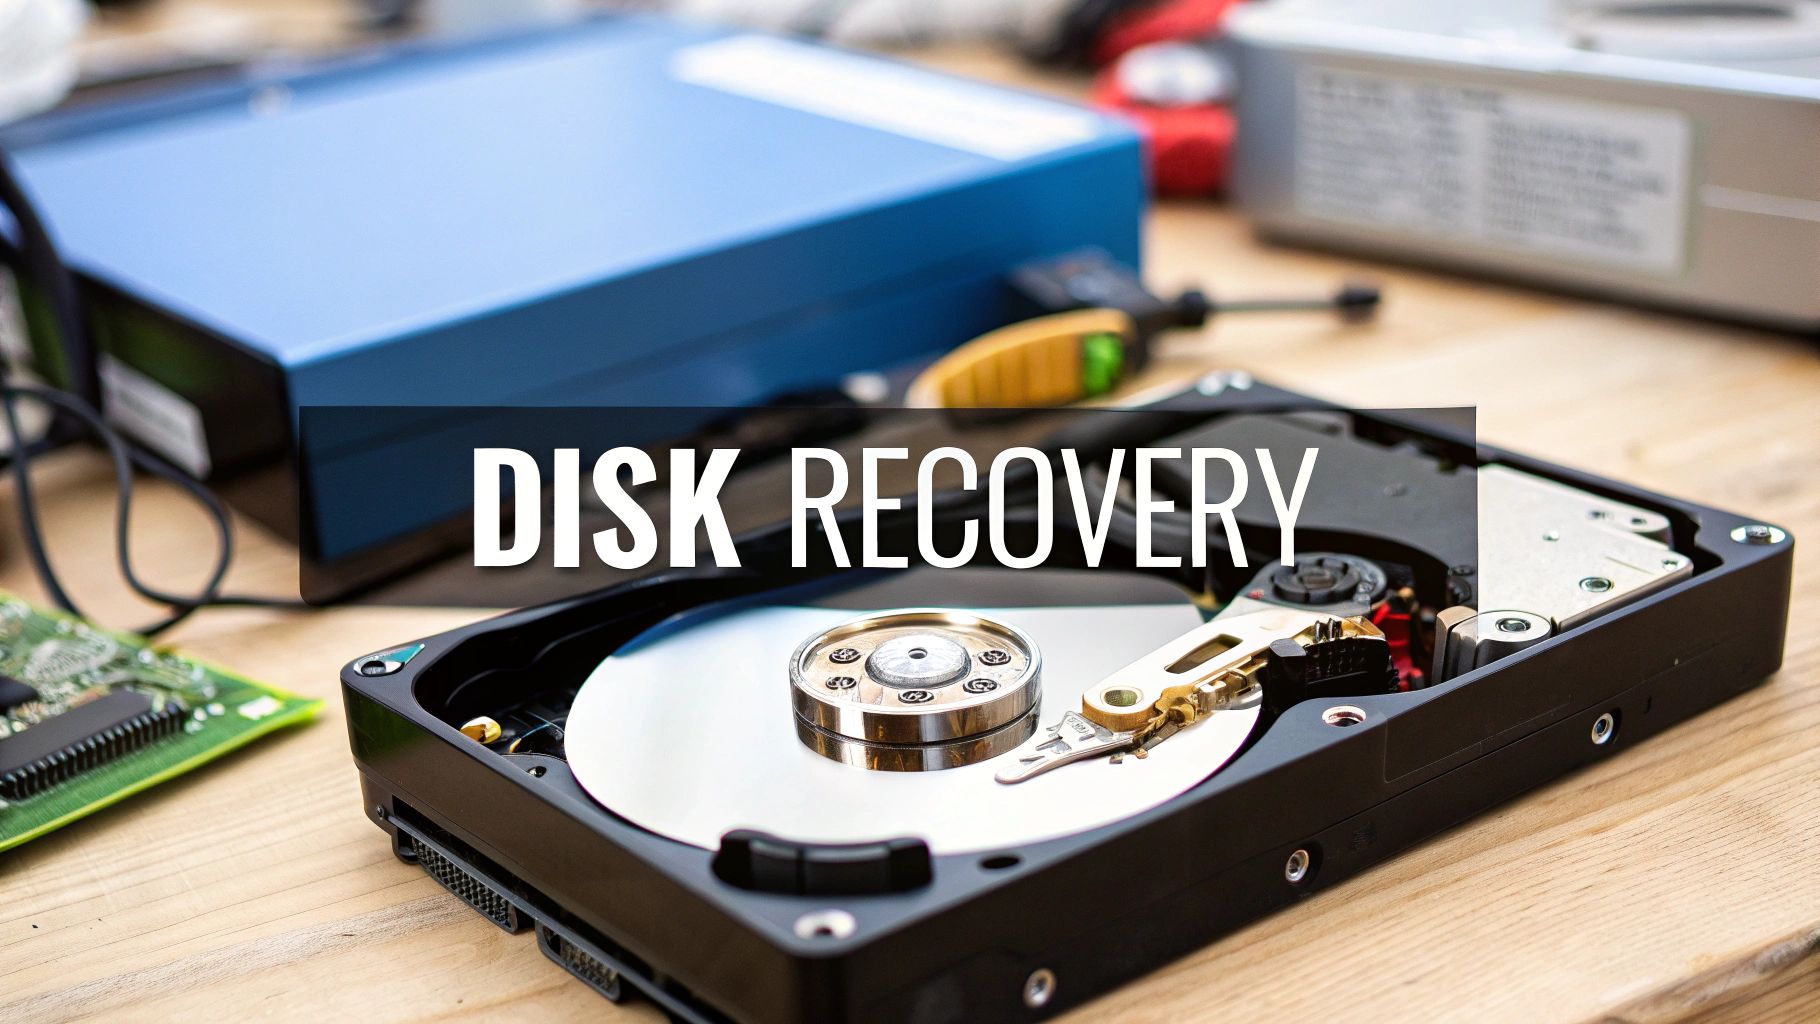
The First Critical Moments After a Hard Drive Fails
When your drive starts acting up, you'll be tempted to reboot, run a check disk, or frantically try to copy that one last file. Fight that urge with everything you've got.
Every second a physically failing drive stays on, you’re risking catastrophic damage. Picture a record player with a bent needle gouging a deep scratch across your favorite album—only this album holds your irreplaceable wallet files. This first phase isn't about recovery; it’s about damage control.

Why Powering Down Is Non-Negotiable
Inside a traditional hard disk drive (HDD), a delicate read/write head floats just nanometers above a platter spinning thousands of times per minute. It’s a marvel of engineering, but when something goes wrong mechanically, that head can crash into the platter, physically scraping away the magnetic layer that stores your data.
Keeping a dying drive running can cause:
- Platter Damage: This is the most severe outcome. A head crash can score deep grooves into the platters, making any data in those areas permanently unreadable. This is often the cause of the infamous "click of death."
- Firmware Corruption: A struggling drive can accidentally corrupt its own essential operating software (firmware). When this happens, the drive can become a "brick"—completely unrecognizable to any computer.
- Worsening Logical Errors: If the problem is software-based (logical failure), every failed boot attempt can further scramble the file system, destroying the map that tells the OS where your data is located.
Crucial Takeaway: The first rule of data recovery is simple: do no further harm. Powering down stops the damage cold and gives you the best possible shot at getting your files back.
Taking Stock of the Situation (Safely)
Once the computer is off and unplugged, take a deep breath and think back to what happened right before the failure. These memories are crucial clues for what comes next.
Did you hear any strange noises? Did you see any error messages? Was the computer running unusually slow? This information will help you figure out if you're dealing with a physical hardware problem or a logical software issue.
To help you out, here’s a quick reference guide I've put together based on countless recovery jobs. It breaks down the common symptoms and tells you exactly what to do—and what not to do.
Hard Drive Failure Symptoms and Immediate Actions
| Symptom | Potential Cause | What to Do Immediately | What NOT to Do |
|---|---|---|---|
| Clicking, grinding, or buzzing noises | Physical/Mechanical Failure | Power down instantly. Unplug the device. | Do not reboot, run software, or shake the drive. |
| Blue screen, OS won't load | Logical or Physical Failure | Power down safely. | Do not use automated "repair" tools or reinstall the OS. |
| Files suddenly missing, folders empty | Logical Failure (Corruption) | Shut down the system normally. | Do not save any new files or run disk defragmenters. |
| Drive not detected in BIOS/UEFI | Severe Physical/Firmware Failure | Power off completely. | Do not try to open the drive's enclosure. |
This isn't just a checklist; it's the first step in your recovery strategy. A clicking drive needs a completely different approach than one with a corrupted operating system. By reacting correctly in these first few minutes, you preserve the drive's current state, which dramatically increases the odds of a successful recovery—whether you do it yourself or bring in a professional. Remember, the goal is always preservation before restoration.
Logical vs. Physical Failure: What's Ailing Your Drive?
Once your machine is safely powered down, it's time to play detective. The next move you make depends entirely on what kind of failure you're dealing with. In the world of data recovery, hard drive problems fall into two big buckets: logical and physical. Getting this right is everything, because the recovery plan for each is completely different.
A logical failure is a software or data structure problem. The drive's hardware is probably humming along just fine, but the information on it has become a jumbled mess. Imagine a library where the card catalog has been shredded—all the books (your files) are still on the shelves, but the system to find them is toast.
A physical failure, on the other hand, means the hardware itself is broken. The delicate read/write heads could have crashed onto the platters, the motor might have given up, or the circuit board could be fried. This is like the library's shelves collapsing. The books are physically damaged, buried, or totally inaccessible.
The Telltale Signs of a Logical Failure
Logical failures are sneaky. They often show up without any scary noises, acting as silent assassins of data access. Usually, they're the result of a software bug, a nasty bit of malware, or an accidental "oops" moment.
You're likely looking at a logical failure if you see things like:
- A Vanishing Act: Your computer boots up, but a whole partition is just… gone. Your D: drive has disappeared without a trace.
- The Dreaded "RAW" Filesystem: You try to open a drive, and Windows slaps you with a "You need to format the disk" message. Checking its properties reveals the filesystem is listed as "RAW" instead of NTFS or exFAT.
- Boot-Up Woes: The computer starts to load but then throws up an error like "Operating System not found" or gets stuck in an endless reboot cycle.
- Widespread Corruption: You can still see your folders and files, but trying to open them results in gibberish, error messages, or a flat-out refusal. For a deeper dive, check out our guide on recovering corrupted files from a hard drive.
My Go-To First Move: One of the safest things you can do with a suspected logical issue is to boot the computer from a separate USB drive running a Linux distribution like Ubuntu. This lets you poke around and examine the drive's contents without letting the potentially broken Windows or macOS installation touch it, which could otherwise write new data and make things worse.
When Your Hard Drive Is Crying for Help (Literally)
Physical failures are usually much less subtle. They tend to announce their presence with unmistakable, often gut-wrenching, sounds and symptoms that scream "hardware problem!"
Listen for these red flags:
- The "Click of Death": That rhythmic, repetitive clicking sound is the classic sign of a failing read/write head assembly. It's the sound of the drive trying, and failing, to find its starting point over and over again.
- Grinding or Scraping: If you hear this, it's an emergency. It almost always means the heads have crashed and are physically scraping the magnetic layer—your data—right off the platters.
- Dead Silence: You power on, but the drive is completely quiet. You don't feel that familiar, subtle vibration. This usually means the spindle motor has failed and the platters aren't even spinning.
- Invisible to BIOS/UEFI: When the drive doesn't even show up in your computer's most fundamental startup menu (the BIOS or UEFI), it's a sign of a serious electronic or firmware failure.
Don't underestimate how often this happens. Data from large-scale server farms shows that on average, 1.42% of all hard drives fail each year. But for some specific models, that failure rate can jump to a staggering 9%. It's a primary reason people lose their data, affecting everyone from home users to massive data centers.
Trying to run recovery software on a physically failing drive is one of the worst mistakes you can make. It puts immense stress on already-damaged parts and can quickly turn a recoverable situation into a complete loss. If you hear clicking or grinding, your only safe option is to stop immediately. Attempting a sector-by-sector clone is a high-risk move, and frankly, it's time to consider calling in the pros.
Creating a Safe Digital Clone of Your Failing Drive
So, you've listened to the drive and thankfully aren't hearing the dreaded "click of death." You're likely dealing with a logical failure, not a full-blown mechanical catastrophe. Now comes the single most important step in any DIY recovery effort, and it requires some serious self-control.
Resist the overwhelming urge to run recovery software directly on the failing drive. I can't stress this enough. Instead, your very next move is to create a perfect, bit-for-bit digital replica of it.
This is what we call cloning or imaging. Think of it like this: you've found a fragile, ancient manuscript. You wouldn't start trying to decipher its faded text under a harsh lamp, right? No, you'd take a high-resolution photograph first and work from that, preserving the original. Working directly on your failing drive is the equivalent of handling that delicate document—every second you use it, you risk causing more damage and fading your data into oblivion.
A simple file copy-and-paste won't cut it, either. That process makes the drive's read head jump all over the platters, putting massive stress on an already weak component. A sector-by-sector clone, on the other hand, is a much gentler process. It reads the drive linearly, from start to finish, which is the safest way to pull data off a compromised disk.
This flowchart maps out the crucial fork in the road between a logical and a physical failure. It shows you exactly where you are in the process.

As you can see, the type of failure dictates your next move. For the logical issues we're tackling, cloning isn't just a good idea—it's the critical next step.
Picking the Right Tool for the Job
You need specialized software for this. A standard drive-copying utility will hit a single bad sector, throw its hands up, and abort the entire mission. That's not what you want.
Recovery-focused cloning tools are much smarter. They'll try to read a bad sector a few times, and if they still can't get the data, they'll simply log the error, skip it, and keep chugging along. This ensures you get an image of all the readable parts of the drive.
Here are a few of the most reliable tools I've used over the years:
- GNU
ddrescue(Linux): This is the gold standard for data recovery pros. It’s a free, command-line tool that runs from a bootable Linux USB. It's incredibly powerful, especially when dealing with lots of bad sectors, and you can even stop and resume the process. - EaseUS Disk Copy: A much more user-friendly option with a graphical interface for Windows users. It’s built to handle disks with bad sectors, making it a solid choice if you're not comfortable in a command line.
- Macrium Reflect Free: While it’s mostly known as a backup tool, its cloning and imaging capabilities are top-notch. It can create a perfect sector-by-sector clone and is another excellent graphical option for Windows.
Pro Tip: Your destination drive—the healthy one you're cloning to—must be equal to or larger than the failing drive. The clone is an exact replica, right down to the empty space, so you need enough capacity.
The Safe Cloning Workflow
No matter which tool you pick, the fundamental process is the same. The goal is simple: get a perfect copy while putting the least amount of stress on the original drive.
Start by connecting both the failing (source) drive and a healthy (destination) drive to a working computer. If you're going the ddrescue route, you'll boot into a live Linux environment. For software like EaseUS, you just run the application within Windows.
Once the software is running, you'll select your source and destination drives. Check this step twice. Then check it again. If you mix them up, you will permanently overwrite the healthy drive with a clone of… itself. All your data will be gone for good.
Now, be patient. This isn't a quick process. Cloning a failing drive with bad sectors can take many, many hours. Just let it run.
The difference between doing this right and wrong is huge. A Q1 report from EaseUS on external drive recovery found that for smaller SSDs (128-256GB), the success rate was 68% across over 30,000 cases. But for drives larger than 4TB, that rate plummeted to just 32%. A major reason for the drop? User mishandling and improper initial recovery steps. You can read the full report from EaseUS for more insight.
Once the clone is finally complete, immediately disconnect the original failing drive. Put it in an anti-static bag and store it somewhere safe.
From this moment on, all your recovery attempts happen on the new, healthy cloned drive. This is non-negotiable. The original drive is now your last-resort backup, safe from any further damage while you work on retrieving your files from its digital twin.
With a perfect digital clone of your failing drive safely in hand, you’ve made it through the most harrowing part of the process. The immediate danger is over. Now, it's time to switch gears from preservation to restoration.
This is where you bring in the specialized software, the digital bloodhounds designed to sift through the raw data on your clone and piece your precious wallet files back together.
Starting with the Basics: Simple File Deletions
The market for data recovery software is a confusing mess, with a dozen tools all shouting that they're the best. The real key is matching the tool to the job. A program built for a simple, accidental file deletion is a world away from one designed to tackle a completely corrupted partition.
Let's start with the most common slip-up: you accidentally deleted a file or emptied your Recycle Bin. In these cases, the file data is often still sitting right there on the drive; the operating system has just erased the signpost pointing to it. You don't need a heavyweight champion for this.
- Recuva (Windows): This is a fantastic, user-friendly first stop. It’s great for pulling back recently deleted photos, documents, or music. Its simple interface and "deep scan" option make it incredibly approachable, even if you're not a tech wizard.
- Disk Drill (Windows/macOS): Another solid choice with a clean interface and powerful scanning algorithms. The free version is a lifesaver because it lets you preview recoverable files—a huge advantage so you know if it's worth paying to get your data back.
These tools are great for what they do. But they’ll likely hit a brick wall when faced with more severe logical damage, like a drive that suddenly shows up as RAW in Disk Management. For that kind of fight, you need to bring in the big guns.
Advanced Recovery for Formatted Drives and RAW Partitions
When you’re staring down a formatted drive, a deleted partition, or a corrupted file system, you need software that can see past the broken structure. You need something that can identify files based on their unique digital fingerprints. It's a more intense process, but it's often the only way to recover from hard disk failure in these messy situations.
Here, we're talking about more technical, but unbelievably powerful, open-source tools. These are the workhorses of the professional data recovery world.
This is the main menu for TestDisk, a powerful command-line recovery tool.
Sure, the text-based interface looks intimidating at first. But it gives you granular control over analyzing and recovering lost partitions and boot sectors—something the slick GUIs just can't match.
- TestDisk: This command-line utility is an absolute lifesaver for recovering lost partitions and making non-booting disks bootable again. If your drive's partition table got scrambled, TestDisk can often analyze the disk structure and rebuild it from scratch. It’s a bit like magic when your entire partition just reappears.
- PhotoRec: From the same brilliant minds behind TestDisk, PhotoRec is a "file carver." It completely ignores the file system and instead scours the raw data on your cloned drive for known file headers. And don't let the name fool you; it can recognize the signatures for hundreds of different file types, from
.jpgand.movto.docxand.zip.
A real-world story: I once helped a photographer friend whose camera SD card became corrupted. Windows was screaming to format it, but the card held an entire wedding shoot. Using PhotoRec on an image of that card, we managed to recover nearly every single RAW photo file. Why? Because PhotoRec looked for the specific
.CR2file signature, completely ignoring the mangled file system.
Making the Right Choice
Choosing your software really boils down to your specific crisis. Don't jump straight to the most complex tool if a simpler one will get the job done. This whole process is stressful enough without wrestling with a difficult user interface you don’t need.
To make things a bit clearer, here's a quick comparison to help guide your decision.
Data Recovery Software Comparison
Comparing popular data recovery tools can help you select the right one based on your specific needs, from simple file recovery to complex partition restoration.
| Tool Name | Best For | Supported OS | Key Feature | Price |
|---|---|---|---|---|
| Recuva | Simple, accidental file deletions | Windows | Very easy to use, offers a portable version. | Free / Pro |
| Disk Drill | General recovery, file previews | Windows, macOS | Excellent user interface and powerful preview function. | Free (limited) / Pro |
| TestDisk | Recovering lost or deleted partitions | Windows, macOS, Linux | Unmatched partition recovery capabilities. | Free |
| PhotoRec | Formatted drives, RAW file systems | Windows, macOS, Linux | Recovers files based on signatures, ignoring the file system. | Free |
Ultimately, the best tool is the one that fits your problem and your comfort level.
Just remember the one golden rule: perform all scans and recovery attempts on your cloned drive, never the original. This is your safety net. If one tool fails or, worse, makes things messier, you can always go back to your pristine, untouched original drive and start over with a different approach. Or, if it comes to it, hand it over to a professional without having made the situation worse.
When to Call a Professional Recovery Service
Look, trying to recover a wallet from a failing hard drive yourself has its limits. Sometimes, knowing when to stop is the most important part of the process. If you push a dying drive too hard, you can easily turn a recoverable situation into a permanent, heartbreaking loss of funds.
There are a few dead giveaways that it's time to power everything down and call in an expert.
If you hear any clicking, grinding, or buzzing noises, your DIY attempt is over. Full stop. Those sounds are the death rattle of mechanical parts, meaning the read/write heads are likely grinding away at the platters where your data lives. Continuing to power it on, even for a "quick look," is actively destroying your wallet file.
Another major red flag is if the drive doesn't even show up in your computer's BIOS or UEFI at startup. This usually points to a serious firmware or electronic failure that no software tool can ever fix.

Unpacking the Professional Process
When you hand over your drive to a professional service, it isn't going to some backroom repair shop. It’s entering a highly controlled environment built specifically for catastrophic hardware failure.
The first stop is almost always a Class 100 cleanroom—an environment so sterile it makes a hospital operating room look dirty. This is absolutely critical, because a single speck of dust landing on an open drive's platters can wreck them for good.
Inside this room, technicians use specialized gear to:
- Replace failed components: They might perform a delicate "head transplant" from a perfectly matched donor drive.
- Swap controller boards: If the electronics on the circuit board are fried, they can replace the PCB, often having to transfer a unique chip from the old board to the new one.
- Fix firmware issues: They use proprietary hardware to talk directly to the drive’s service area and repair corrupted firmware—something completely inaccessible with consumer tools.
Key Insight: Professional recovery isn't just about using better software. It's about physically repairing the drive to a stable state so it can be safely imaged. This is a level of work that's impossible to do at home.
Choosing a Reputable Service
The data recovery world has its share of shady operators, so picking the right company is crucial. The absolute gold standard is a "no data, no fee" policy. This means you only pay if they successfully recover the files you need. Insist on it. Always get a firm quote after they've done a free initial evaluation, too.
Be skeptical of anyone offering cheap, flat-rate pricing for all recoveries. A simple logical recovery might only be a few hundred dollars, but a complex mechanical failure needing cleanroom work and donor parts can easily run into the thousands. The price should match the complexity.
And if your drive is encrypted, that adds another layer of complexity. It's worth learning about the unique challenges of, for example, BitLocker recovery to understand the challenges.
The value here is backed by real data. While the average annualized failure rate for hard drives sits around 1.36%, some models fail far more often, sometimes due to firmware bugs only a pro can identify. With early detection and professional help, you’re looking at an 80-90% data recovery success rate before the drive dies completely. You can dig into these drive failure statistics on Backblaze's blog.
When your crypto is on the line, investing in a professional service isn't just a good idea—it's the only safe bet.
Your Hard Drive Recovery Questions, Answered
When a hard drive gives up the ghost, it’s easy to panic. The internet is flooded with conflicting advice, and one wrong move could make things a whole lot worse. Let's cut through the noise and get straight to the facts on the most common questions we hear every day.
How Much Will Professional Data Recovery Cost?
This is the big one, and the honest answer is: it really depends on what's wrong with the drive. There’s no flat fee because a simple software issue is worlds apart from a complex mechanical repair.
Think of it in two main categories:
- Logical Failures: This is when the drive is physically healthy, but your data is out of reach due to accidental deletion, formatting, or file system corruption. The work is software-based, and you can generally expect a cost between $300 and $1,200.
- Physical Failures: Here, something is mechanically broken—a seized motor, crashed read/write heads, or a fried circuit board. This requires a certified cleanroom, specialized tools, and often parts from a donor drive. It's a delicate, hands-on process. Costs usually start around $700 and can climb past $2,500 for the most severe cases.
A word of warning: Any reputable recovery service will always offer a free, no-strings-attached evaluation. They’ll diagnose the drive and give you a firm quote before you commit to anything. If a company asks for payment upfront or quotes a suspiciously low price for all types of failures, you should probably look elsewhere.
Can I Still Get Data Off a Clicking Hard Drive?
That clicking or grinding sound? That's the infamous "click of death." It's the sound of the drive's internal read/write heads trying, and failing, to find their starting position. More often than not, it means they're damaged and potentially scraping against the platters that hold your data.
If you hear this, you have one job: shut the drive down immediately. Don't even think about plugging it back in.
Whatever you do, don't run data recovery software. Every second the drive is powered on, those damaged heads are like a needle scratching a record, physically destroying the magnetic layer where your files live. Each click can turn a recoverable situation into a permanent loss. This is a job that absolutely requires a professional with a cleanroom.
Does the Freezer Trick Actually Work?
This is one of those old-school tech myths that just won't die. The short answer is a hard no. Putting a modern hard drive in the freezer is a surefire way to destroy it for good.
This trick dates back to ancient hard drive technology and is completely irrelevant today. In fact, it's incredibly destructive.
When you pull that freezing-cold drive out, condensation immediately forms on everything, inside and out. We're talking moisture on the delicate platters and sensitive electronics. This can short-circuit the board, cause the platters to stick together, and introduce contaminants that will guarantee head failure. You'll go from having a chance at recovery to having none at all.
How Do I Stop This From Happening Again?
Look, every hard drive will fail eventually. They're mechanical devices with a limited lifespan. But you can absolutely take steps to protect yourself and make sure a single failure isn't a catastrophe.
A smart prevention strategy is pretty straightforward:
- Live by the 3-2-1 Backup Rule: This is the industry standard for a reason. Keep three copies of your critical data. Store them on two different types of media (e.g., an external drive and cloud storage). And keep at least one copy off-site.
- Keep it Cool: Heat is the enemy. Make sure your computer has decent airflow and that the fans aren't clogged with dust.
- Use a Surge Protector: A power surge can fry your drive's electronics in an instant. A quality surge protector is a small investment that offers huge protection.
- Listen to Your Drive: You can use tools to monitor your drive's S.M.A.R.T. (Self-Monitoring, Analysis, and Reporting Technology) status. These built-in diagnostics can often warn you about developing problems, giving you time to back up everything and replace the drive before it dies completely.
When that failing hard drive holds the keys to your crypto wallet, the stakes are sky-high. If you're facing a tricky recovery or just want the assurance of an expert, Wallet Recovery AI can help. We specialize in securely getting you back into lost and inaccessible crypto wallets. Our blend of AI-powered analysis and deep expertise gives you the best possible chance of success while keeping your data private. Don't gamble with your assets; contact Wallet Recovery AI for a confidential assessment.
Leave a Reply